New Year holidays- It's time to get creative. You can make a variety of crafts, garlands and postcards. Or you can try to make a New Year's house out of cardboard with your own hands. This is a very fun and exciting process.
You can create a small house from the materials that you have on hand, or create a huge house that your kids will love.
You can decorate a New Year's house made of cardboard with your own hands to your liking. For example, hang a garland in it, which will beautifully illuminate the house, filling it with warmth and comfort. Or decorate the house with toys self made, colored paper, etc. It will be very original.
How to make a house out of cardboard?
To create a New Year's house from cardboard with our own hands, we need:
Corrugated cardboard various sizes. You can take large sheets carton or a whole box.
Cardboard tubes (from paper towels, gift paper, etc.).
Sharp knife for cutting paper.
Sticky tape (preferably the color of cardboard).
Markers, pencils, paints, glitter and other decorations.
Corrugated cardboard - perfect option to create a New Year's house from cardboard with your own hands. It is easy to cut, bend, glue and decorate. Getting cardboard, as a rule, is not difficult. The more cardboard you take, the larger your house will be. However, it is worth considering that only clean, dry cardboard is suitable for creating a house.
Of course, the easiest way is to use a ready-made box. Take a close look at your home or office and collect any empty boxes. It can be, for example, boxes from a TV, computer, washing machine, etc. If you do not have empty boxes, you can ask for them at the nearest store.
Cardboard tubes are very important when creating a New Year's house from cardboard with your own hands. They help to give stability to our home.
The primary task in the construction of a cardboard house is to determine its size. Once you have decided on the dimensions, you can make the corners of the house. Find four large pieces of cardboard of the same size. Bend the ends slightly and pin them together. Fasten with adhesive tape.

Next, reinforce the corners with cardboard tubes. To do this, we need tubes of the same height as the walls of the house. We glue the tubes with adhesive tape. If you don't have a tube right size, then you can glue several small tubes together.
We make small cuts on the edge of each tube. They will fasten ceiling beams". We insert cardboard tubes into these cuts. First, on each tube, we make longitudinal cuts into which we insert sheets of cardboard. This will be our roof.
Our house is almost ready. Now you should cut through the windows and doors. This can be done with a sharp knife.
Our do-it-yourself New Year's cardboard house is ready for decoration. It is best to give the decoration of the house to children. Let them show all their imagination. Maybe as a result you will get a huge cottage, or maybe a castle, spaceship or even a barn.
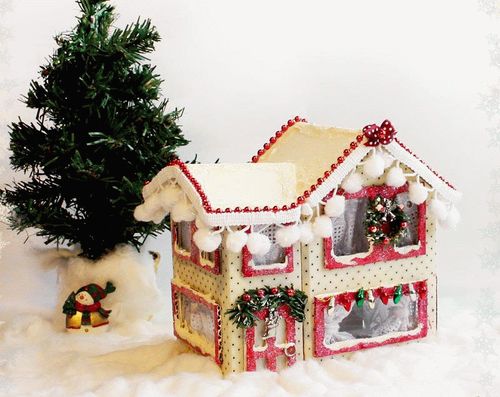
The tiles on the roof can be drawn with a marker and painted with colored paints. The walls of the house can be painted in a single color or create bright New Year's patterns.
The interior design of the cardboard house can be anything. Since we are making a house in the New Year theme, we use paper garlands and snowflakes, Christmas trees and figurines of New Year characters, tinsel, serpentine and rain, etc. Snow on the roof can be imitated with cotton wool. Glue it on with glue.
Our Christmas story ready.
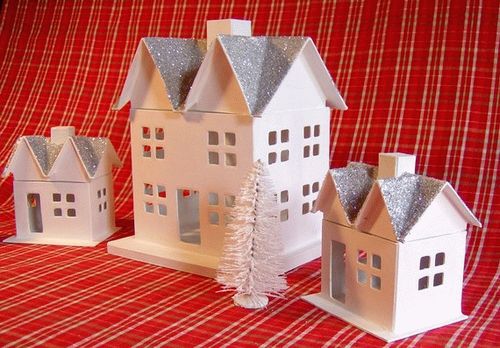
You can also just make a small gift New Year's house out of cardboard with your own hands.
- carton box
- Curly scissors
- office knife
- ruler
- Various materials for decoration.
First we need to make the roof. Cut off the excess cardboard so that we get triangles on top. Note that precision is required at this stage so that all four sides of the roof are the same size. We fix the roof with adhesive tape.
We draw windows and doors and cut them out with an office knife.
Using curly scissors, cut out the tiles from cardboard and glue them to the roof with glue layer by layer.
We decorate and paint our New Year's house made of cardboard with our own hands.
Other ideas for cardboard Christmas houses
New Year's crafts in 3-4 grade
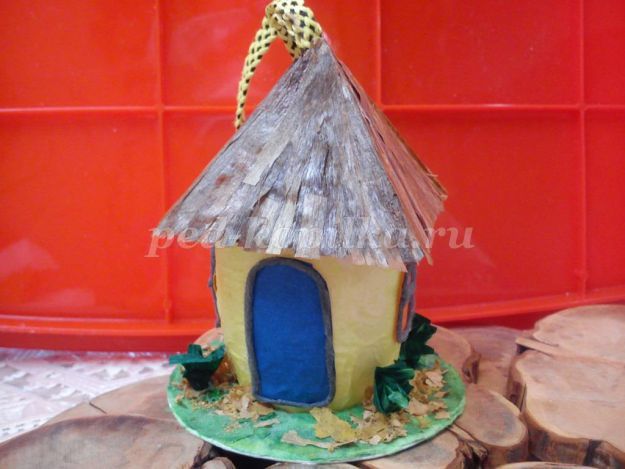
DIY Christmas toys. Fairytale house. Master Class
Author of the work: Okruzhnova Irina Anatolyevna, educator of the extended day group, secondary school No. 5, Moscow Rtishchevo, Saratov region
Target. Craft
Christmas decoration in the form of a fairy house.
Tasks. Acquaintance with the technique of de-coupage and trimming, the development of imaginative thinking, the disclosure of creative potential, the formation of skills of diligence and accuracy when performing creative work.
New Year. It is called magical, mysterious, fabulous, amazing, unique. Everyone is waiting for a bright fairy tale, new happiness, pleasant moments in life, wonderful fulfillment of desires and most secret dreams ... And what is the New Year without a Christmas tree and Christmas tree decorations. Turning to the traditions of the past, every year you can replenish the collection of Christmas decorations with decorations made by the hands of children.I offer a master class on making
New Year's toys"Fairytale Houses" The master class is designed for holding a club hour among pupils of the extended day group of 3rd - 4th grades.
Material for work
Empty bottles from the Aktimel drink, colored napkins, colored paper, cardboard, 2 cotton pads, PVA glue, pieces of colored yarn, glue brush, scissors, decorative lace.
Progress
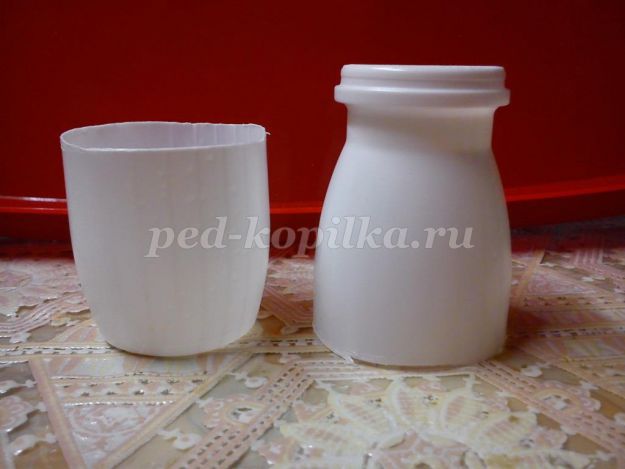
1. Using a paper knife and scissors, cut the bottle from the Aktimel drink into two parts.
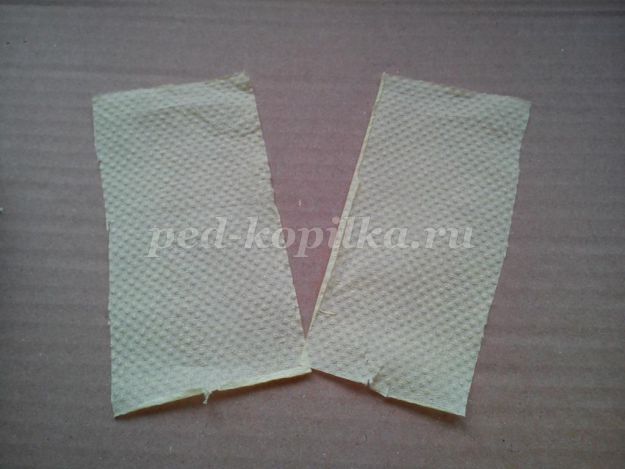
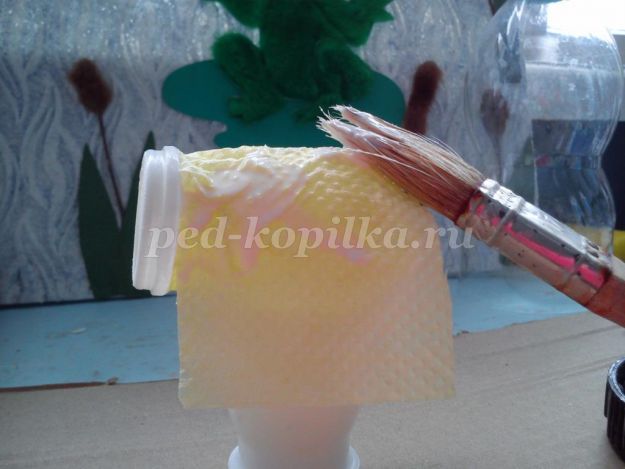
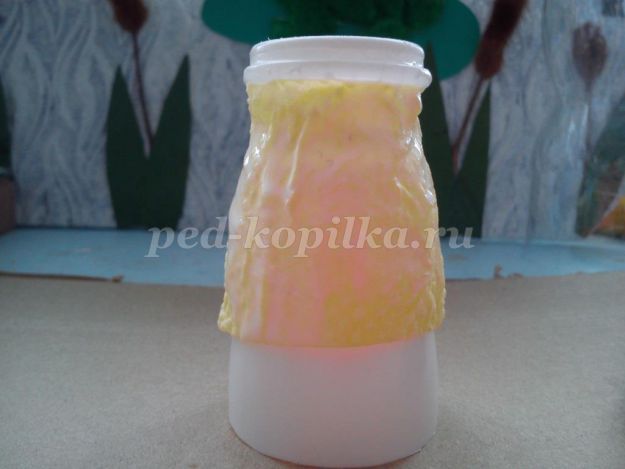
2. Using PVA glue, we tint the halves of the bottle with napkins using the decoupage technique. Lubricate the workpiece with PVA glue and wrap it with napkins cut into strips equal in width to the height of the workpiece.
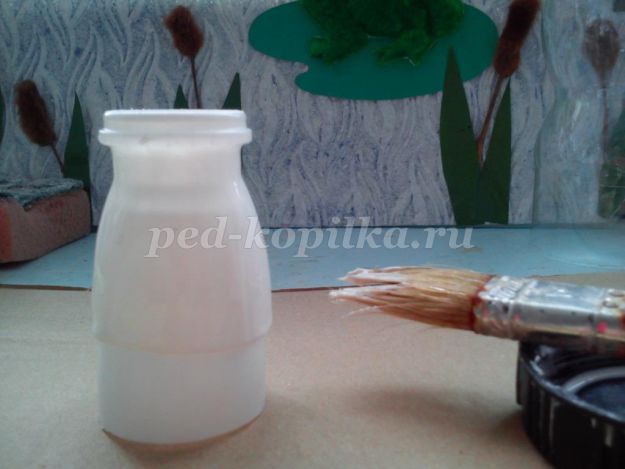
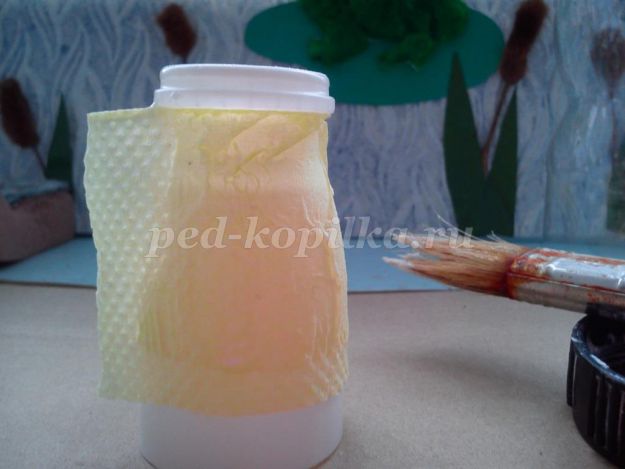
Then we apply a second layer of napkins, and gently cover this layer of napkins with PVA glue with a soft brush
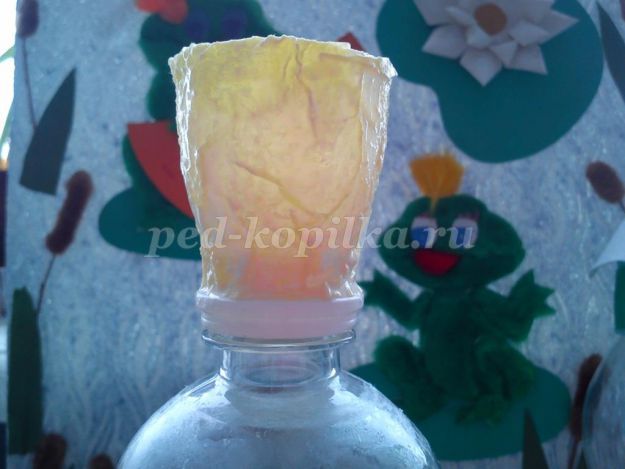
We leave the workpiece to dry by placing it on the neck of a plastic bottle.
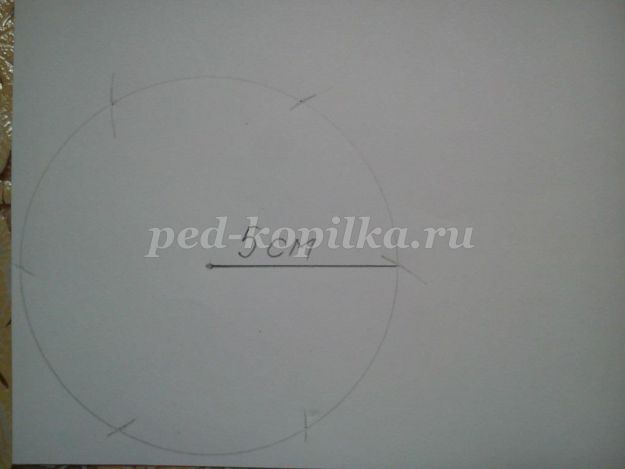
3. We make a blank for the roof. To do this, draw a circle with a compass with a radius of 5 centimeters.
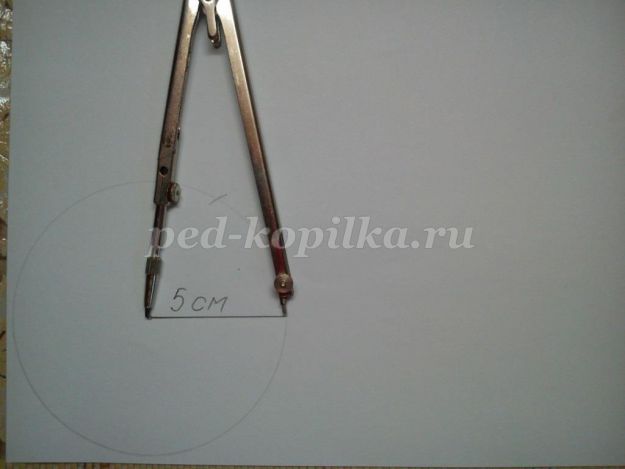
On the circle, without changing the distance between the legs of the compass, we make notches.

Connecting dots on a circle
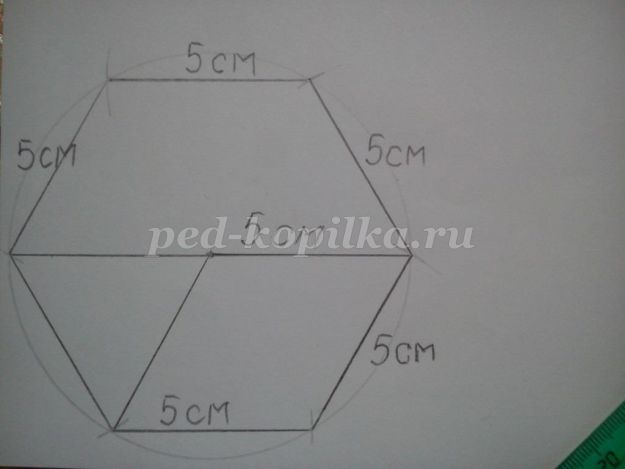
We connect the points on the circle with straight lines passing through the center of the circle. Cut out the shaded triangle.
Along the lines indicated by the arrows, we draw with pressure with a ballpoint pen so that the workpiece is easily bent
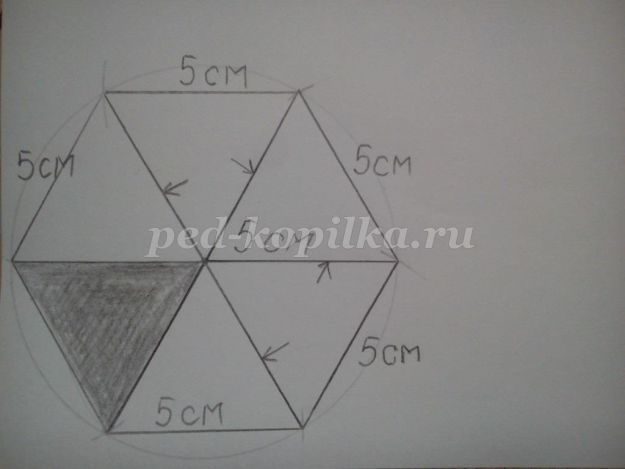
It turns out here is such a blank for the roof

(I gave out ready-made stencils to the children).
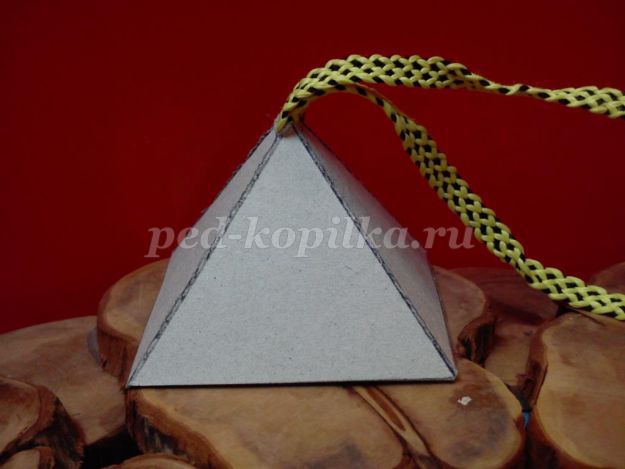
We will glue the blank for the roof by superimposing the triangles shaded in the diagram on top of each other.
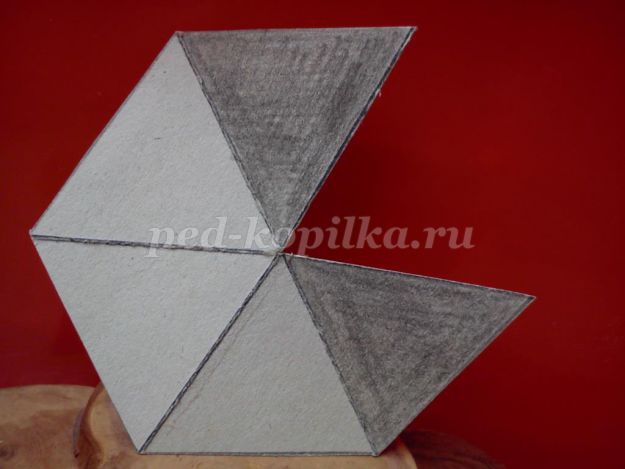
Before gluing the workpiece, inserting a decorative cord tied in a knot inside.
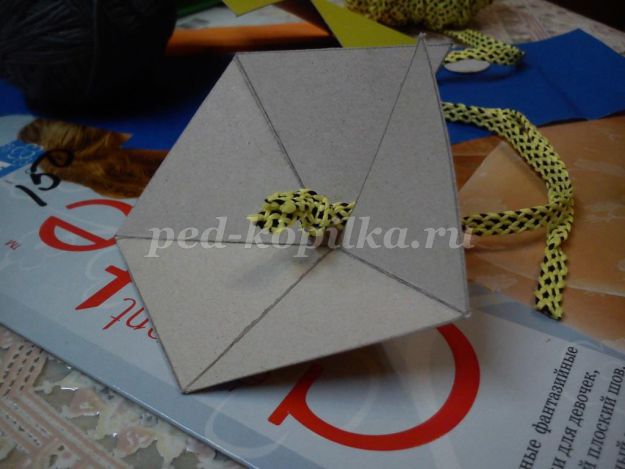
The basis for the roof is ready.
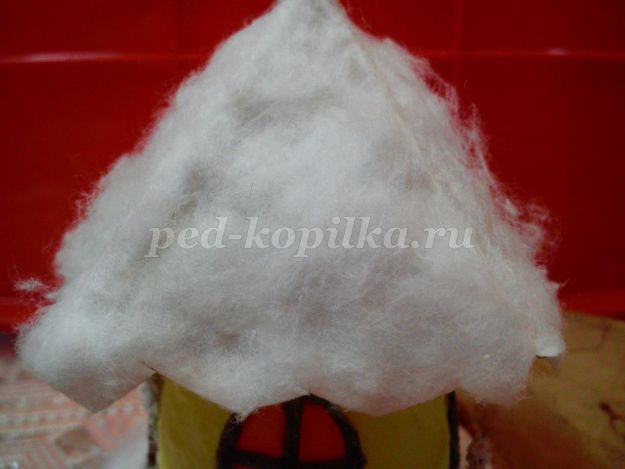
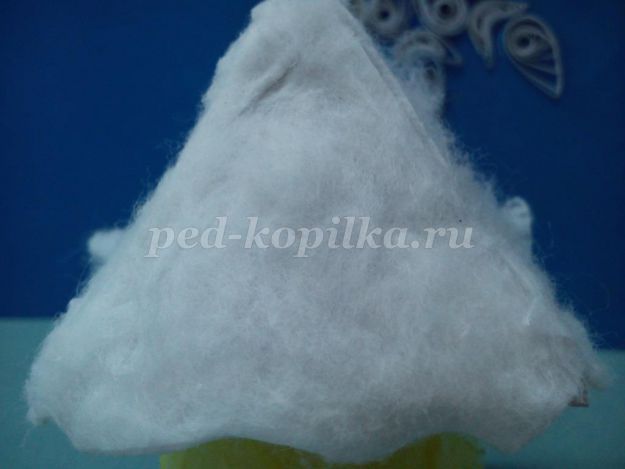
4. Take 2 cotton pads, divide them into layers. Lubricate each side of the roof with PVA glue and carefully, without pressing hard, apply a cotton pad.
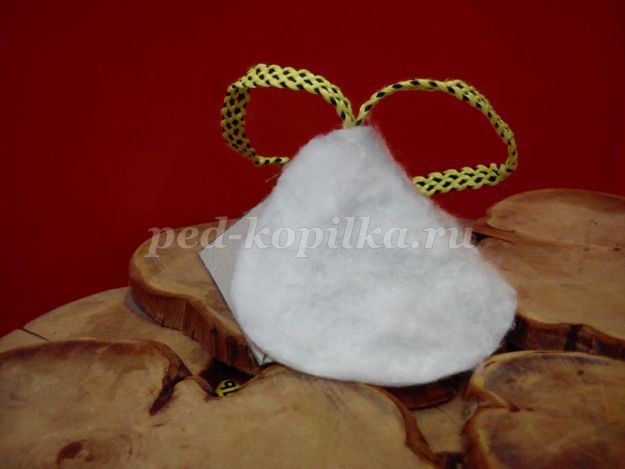
It turns out the roof is covered with snow.
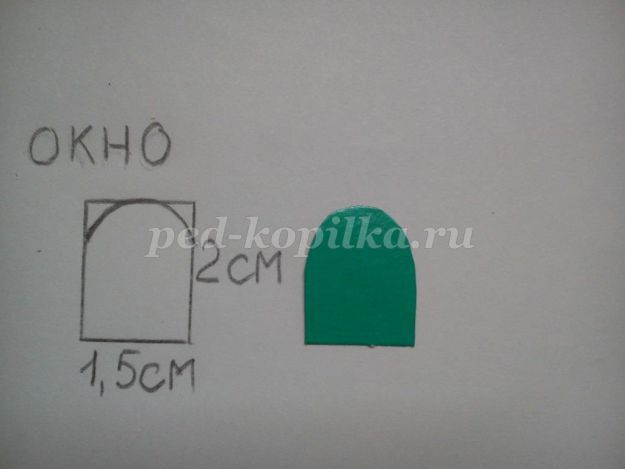
5. Let's start making stencils for windows. We draw a rectangle 1.5x2 cm on cardboard.
The top is arbitrarily rounded. Cut out the resulting stencil.
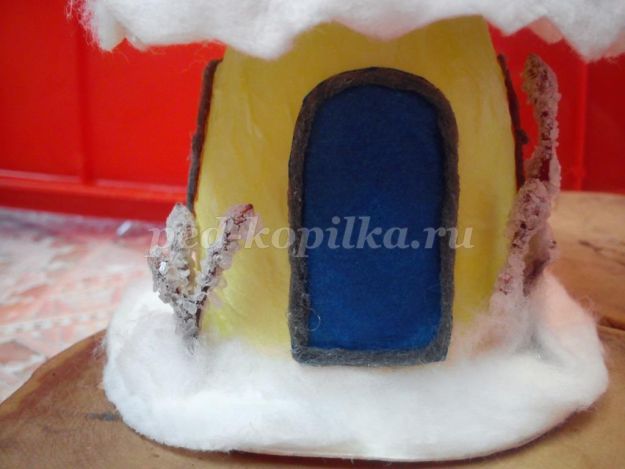
6. For the door, draw a rectangle 1.5x3cm. The top is arbitrarily rounded. Cut out the resulting stencil
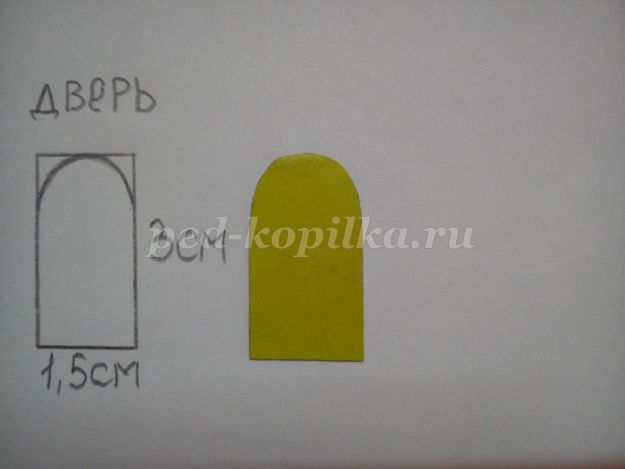
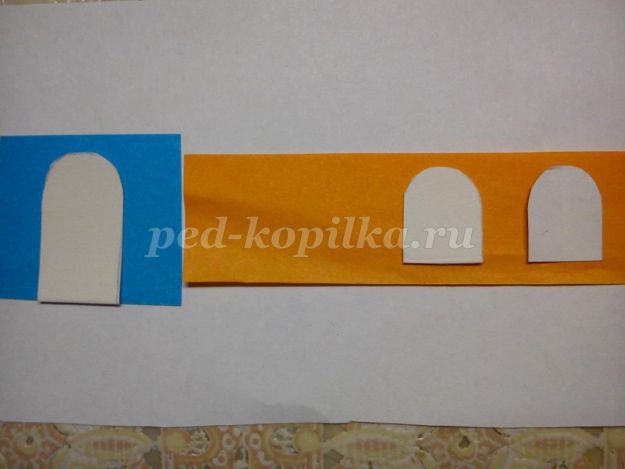
7. Draw a stencil for windows and a roof on colored paper
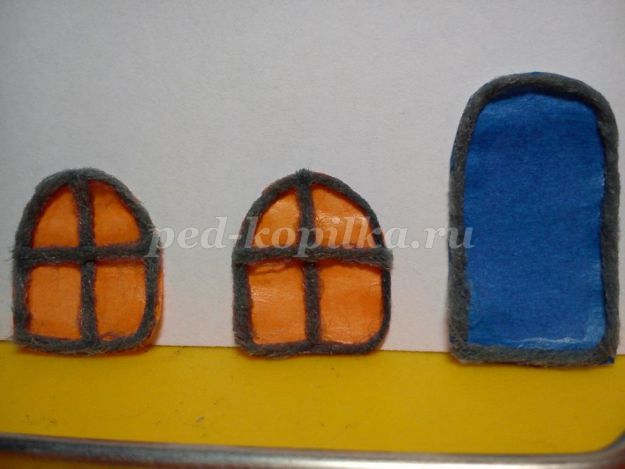
8. To create the volume of these details, we glue the contour with woolen threads.
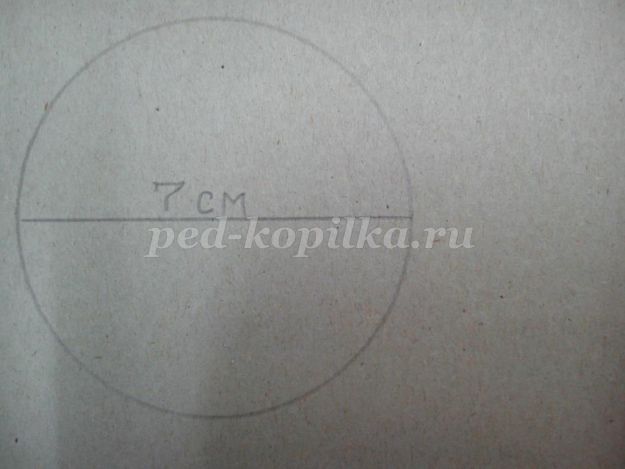
9. Cut out a circle with a diameter of 7 centimeters from cardboard. This is a platform for future composition.
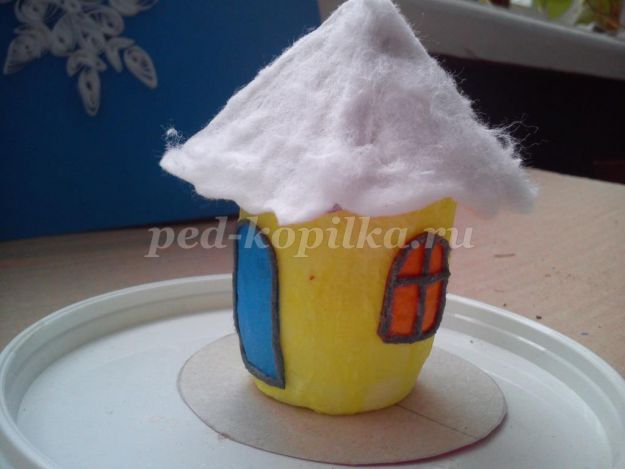
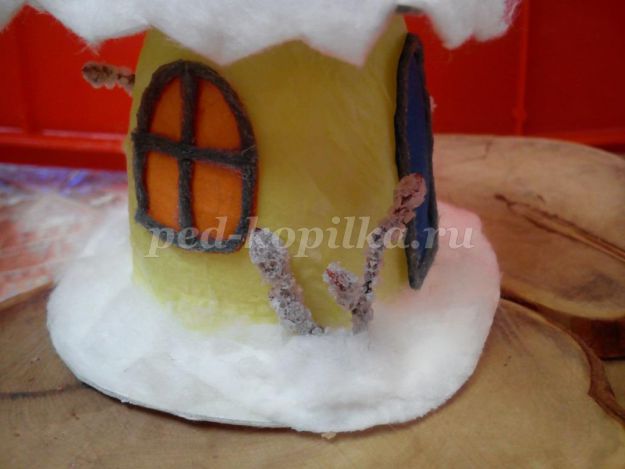
10. Glue the roof, windows and door onto the house.
With PVA glue we fix the finished house in the center of the site.
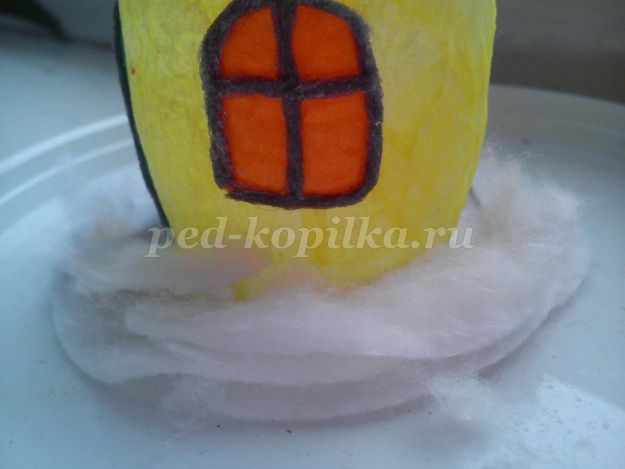
11. The remaining free part of the site around the house is sealed with cotton pads cut into pieces.
12 We supplement the winter landscape with several branches, smeared with PVA glue and sprinkled with salt.
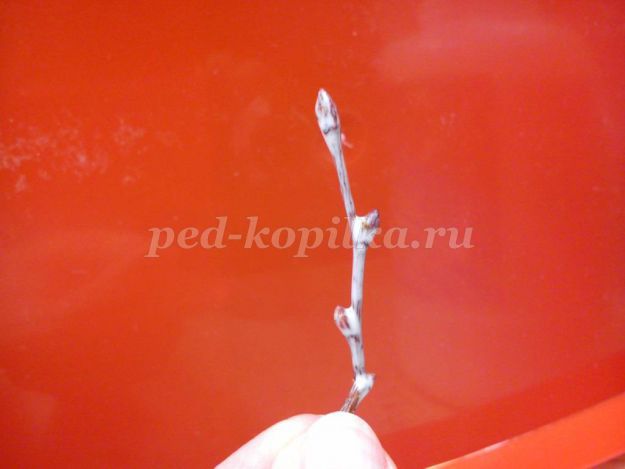
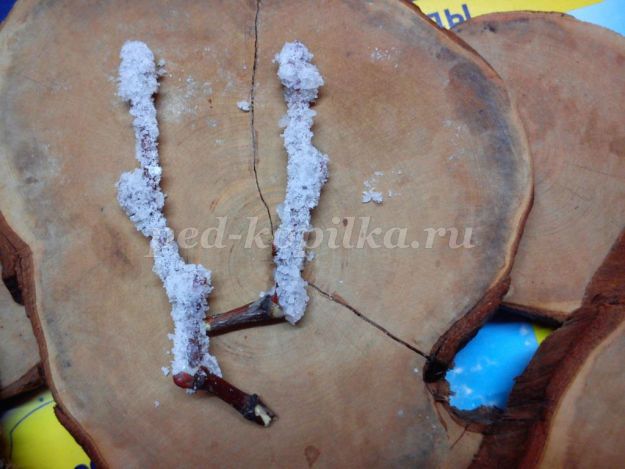
We fix the branches with PVA glue, cover with pieces of cotton pads.
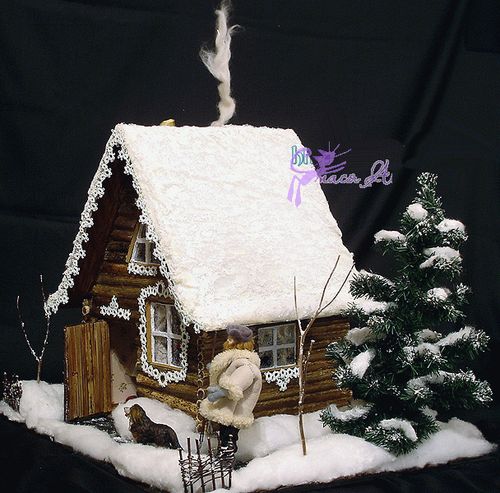
Fairy house is ready.
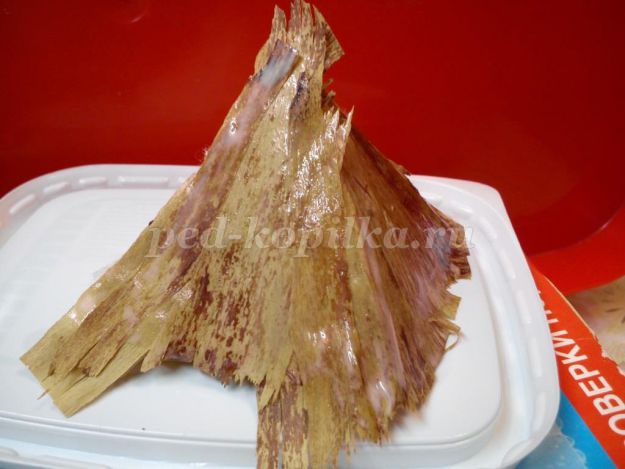
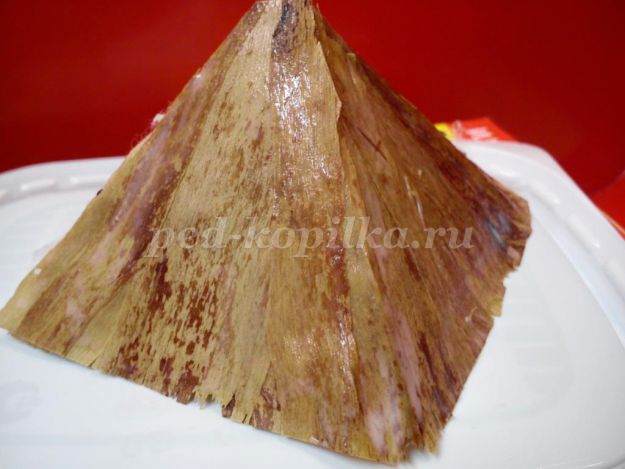
Options are possible.
In this case, we paste over the roof of the house with pieces of wood fibers.
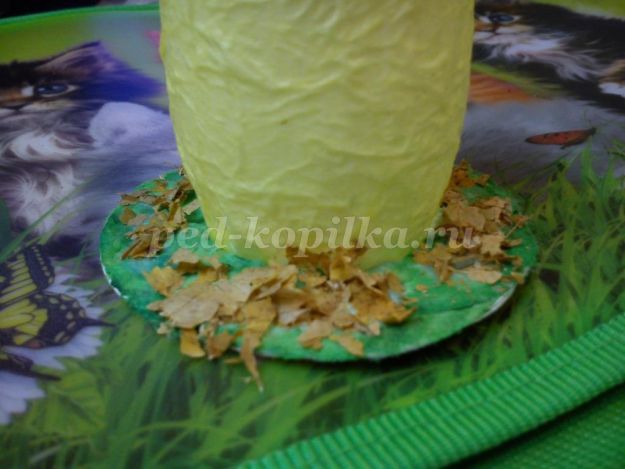
We paste over the cardboard on which we install the house with cotton pads painted with gouache in
green color. Lubricate them thickly with glue and sprinkle with chopped dry leaves.
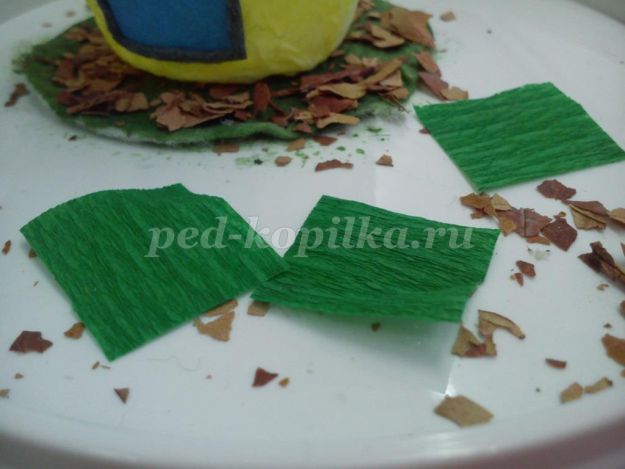
We create several green bushes from corrugated paper by trimming. To do this, cut the corrugated paper into squares measuring 1.5x1.5 centimeters
Approximately in the middle of the square we place the rod from the fountain pen.
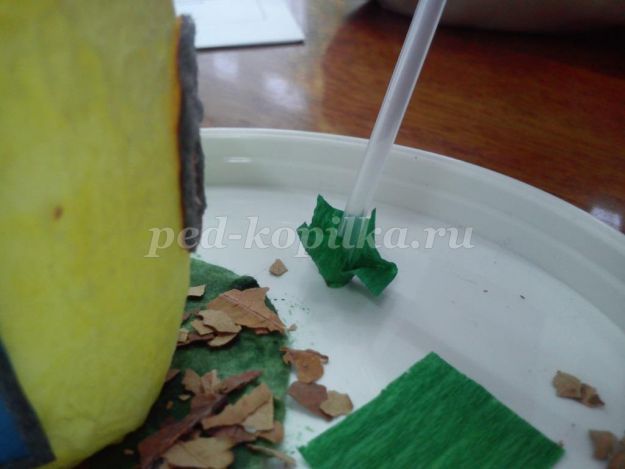
We wind the paper onto the rod.
New Year holidays are coming soon. This means that you will need to decorate a festive Christmas tree.
Today we will tell you how to do DIY Christmas decoration will help you create a great decoration for the holiday.
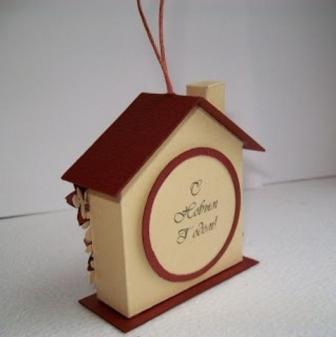
How to make a cardboard house for the new year
First you need to feel the mood of the holiday, and only then find the right materials for the manufacture of . You will need:
- Black sheet of cardboard.
- Double-sided mother-of-pearl colored cardboard sheet, for example, burgundy.
- Golden cardboard sheet of dense texture.
- Beige cardboard with a canvas texture.
- Contour volume gold tone.
- Family photo.
- Waxed whip.
- Various beads.
- Figures made with a hole punch:
- in the form of a flower;
- in the form of leaves.
- Circular knife with an awl.
- Office knife.
- Foam rubber with adhesive tape.
- Scoring stick.
Before work, carefully consider a schematic representation of the house and understand what material certain parts will be made of.
Completing of the work:
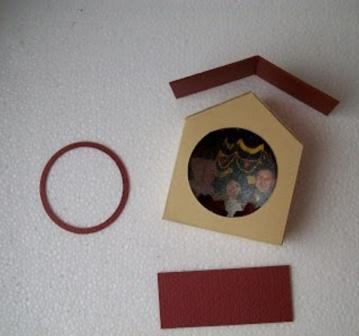
- Cut out the house template from beige canvas textured cardboard. Using a circular knife, make a hole with a diameter of 4.4 cm in the right place. Next, you should push the fold lines, then bend the template according to the lines. We carry out the same manipulations with elements of a burgundy shade. These are the details of the roof and pipes.
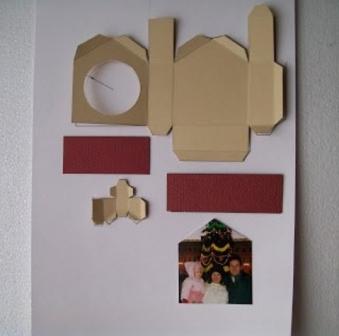
- With a circular knife, you need to cut a couple of strips on a burgundy sheet of cardboard that have external diameter 5.2 cm, the inner must fit 4.4 cm.
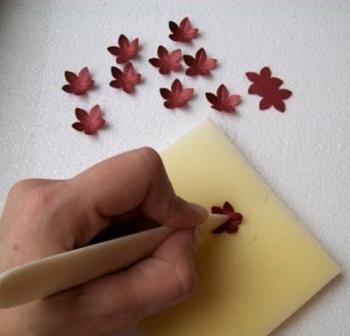
- Now, using a flower-shaped hole punch, we make 18 flowers from burgundy cardboard. There should be an equal number of them, since the flower on the product must be made up of a couple of pieces.

- To make the flowers take on a certain shape, look more interesting, you should use foam rubber and a scoring stick. Lay each flower in turn on the foam rubber and slide a creasing stick from the center of the flower towards the edges of the petals.
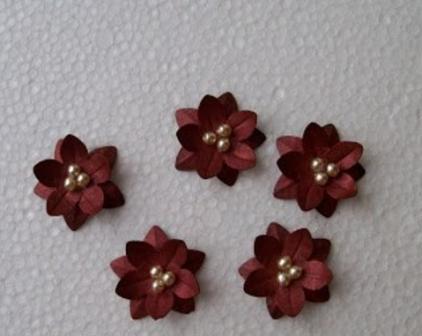
- A flower should be formed from a pair of separate elements, carefully glued together, then a core of three beads should be attached to the center of the flower.
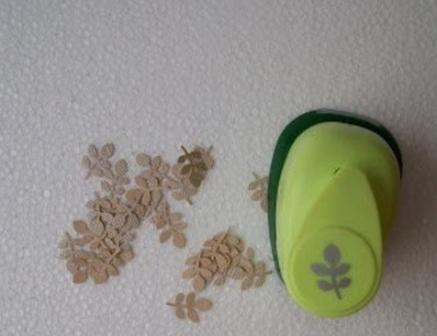
- Let's start making branches. For this we use a hole punch. required form, with which we make branches on the basis that for each flower we need 3 branches.
- Finally it's time for a family photo. It must be cut in the form of a house. Keep in mind that you need to crop the photo so that the people depicted in the picture are in the center of it.
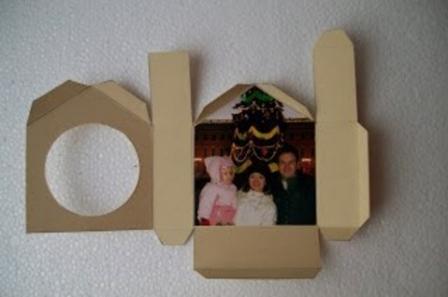
- Next, you need to glue the picture on the inner surface of the future New Year's house.
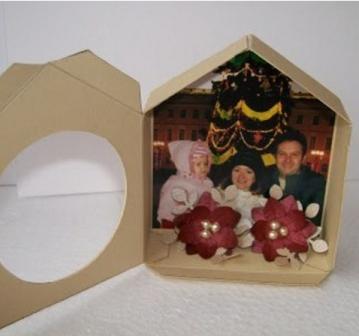
- Now you need to fold and glue all the details of the product, leaving only the front side.
- Then at the bottom inside products are glued a couple of flowers directly on the photograph. They will look great from the window in the shape of a circle.
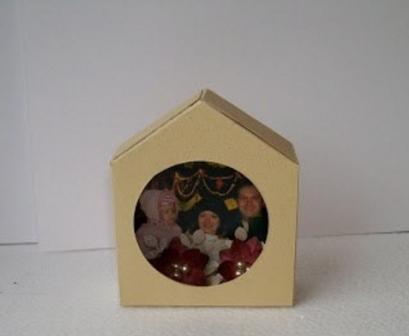
- Let's start gluing the front side of the house.
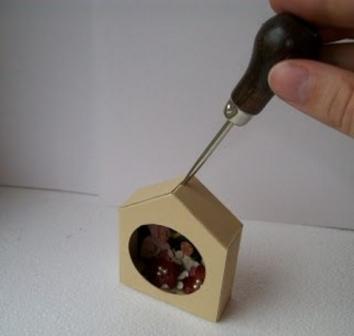
- With the help of an awl on the upper part of the product you need to make a cut. A similar cut should be made in the required place on the roof of the house, which must be bent along the indicated line.
- We assemble the product - we glue the roof, base, chimney, window rim.
- Due to the fact that our product performs the function of a Christmas tree toy, the house will need a loop for which the craft will be hung on the Christmas tree. We use waxed twine for the loop. For this purpose, a small knot should be made at the end of the loop. The loop must be threaded into a slot located on the roof of the product.

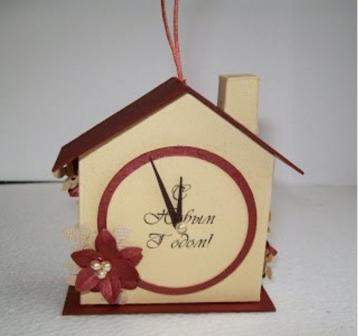
- It is necessary to cut out a circle from gold-colored cardboard, the diameter of which is 5.2 cm. On it you need to make a stamp with a New Year theme or write the inscription: “Happy New Year!”, Stick this circle on the back of the product in a predetermined place using double-sided tape .
- Now we glue the clock hands at 11.45. A bright bead is glued in the center of the dial.
- Next, decorate the product with flowers and twigs.
- The last detail: the decoration of the "New Year's House" with a gold-colored outline. The cardboard house is ready to decorate the Christmas tree with the help of our master class you shouldn't have any problems.

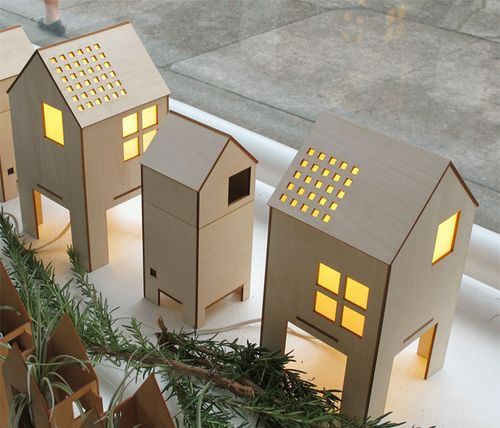
Look at the sight of another do-it-yourself house for the New Year
The original homemade, made by yourself, looks very stylish. The house is a symbol-amulet family holiday! It can be hung on the most the best place on the tree!


