Proverbs and sayings about May HORIZONTALLY: 2. May will deceive - in ... will leave.4 ....

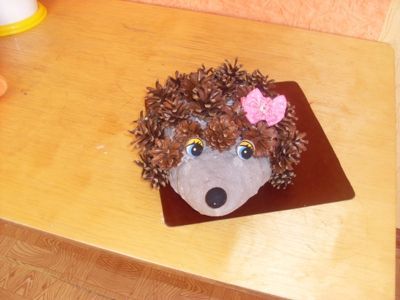
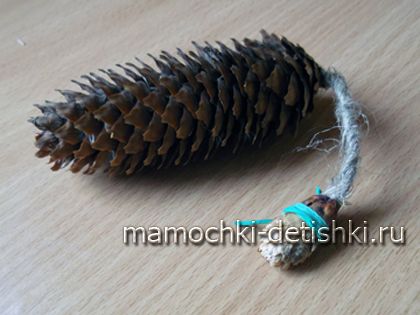
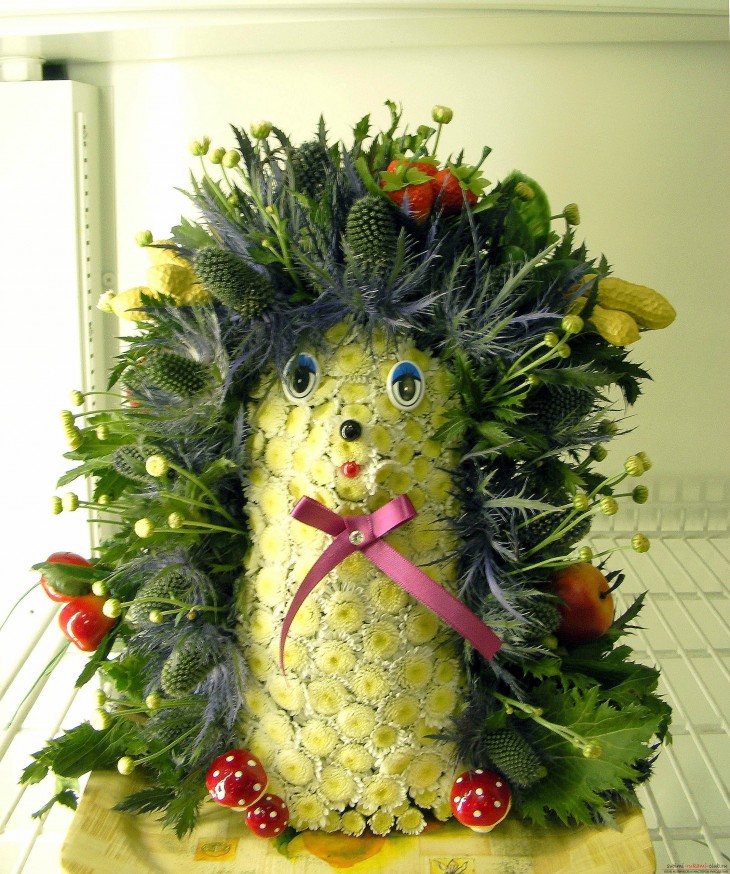
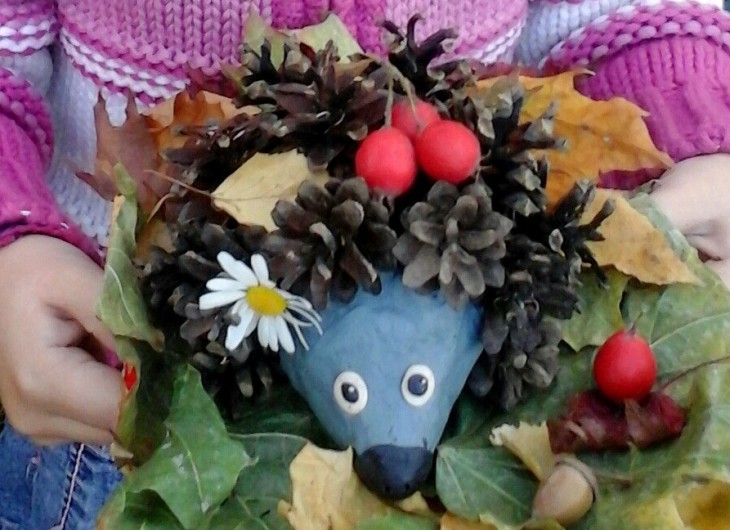
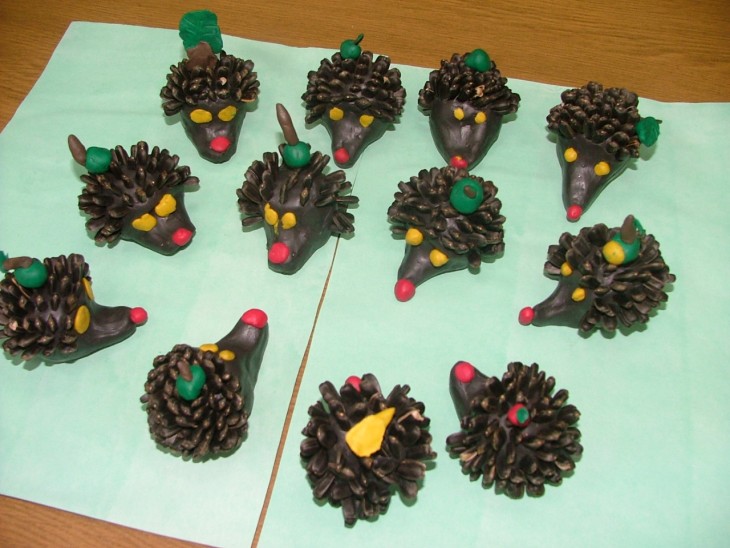
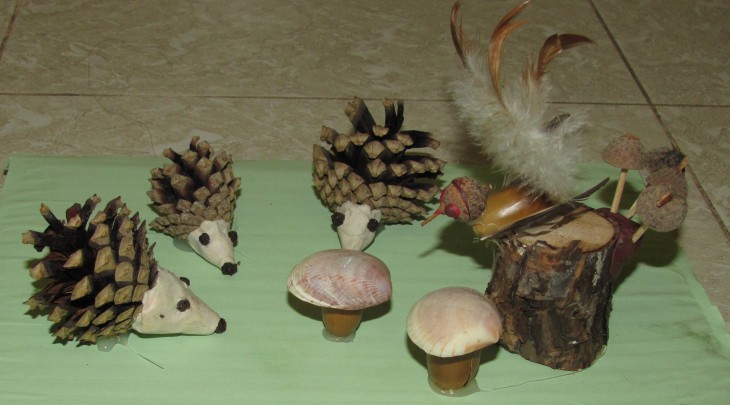
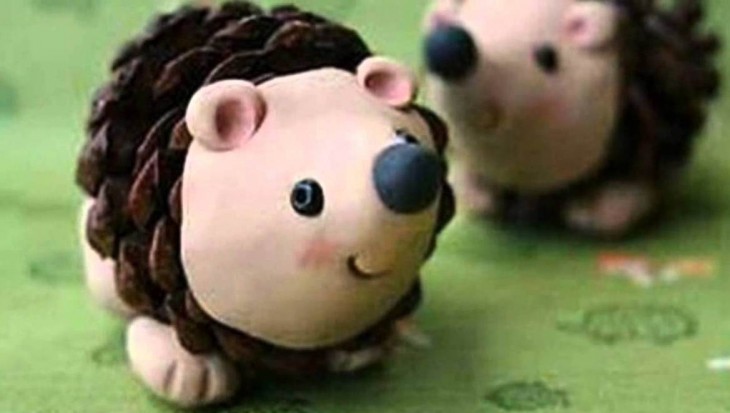
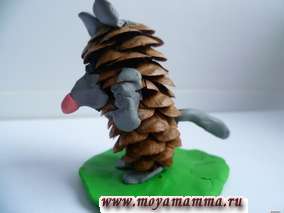
Hedgehog from cones
If on a walk with a baby you found a lot of beautiful cones, then you can make such a funny hedgehog that will cheer you up in winter, reminding you and your child of an autumn forest or park.
For manufacturing we need:
Let's get to work.
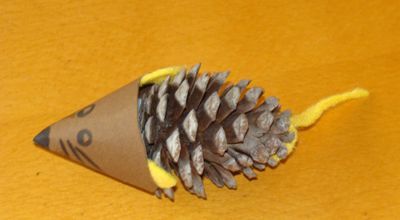
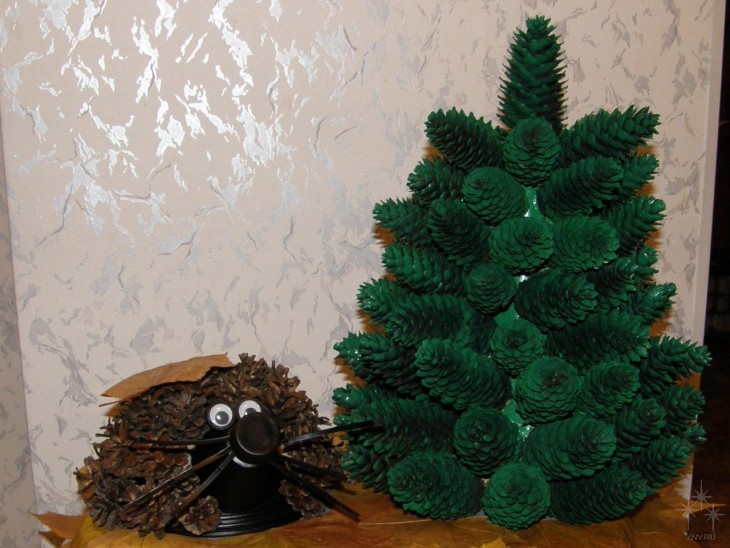
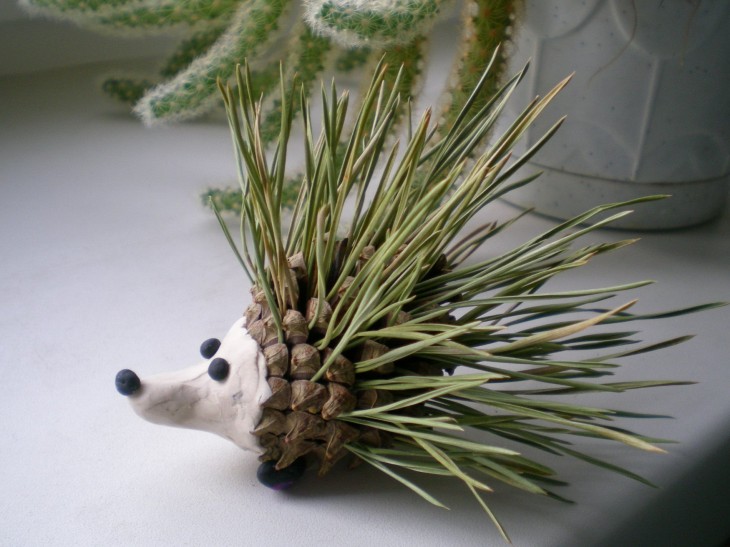
Can do hedgehog from cones sooner, like this.
![]()
or such
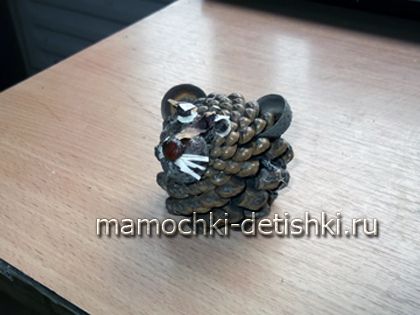
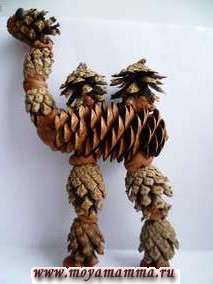
Lion from spruce and pine cones
Materials for each body part: 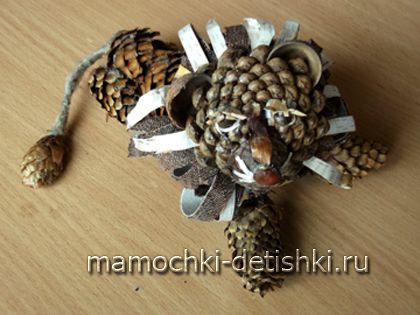
All parts are glued with superglue.
Performance
The lion is ready! 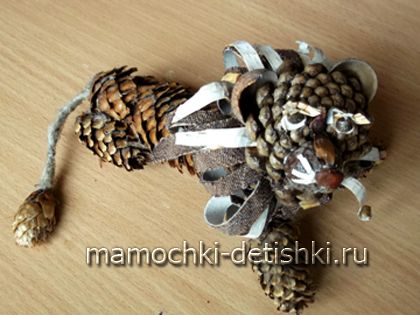
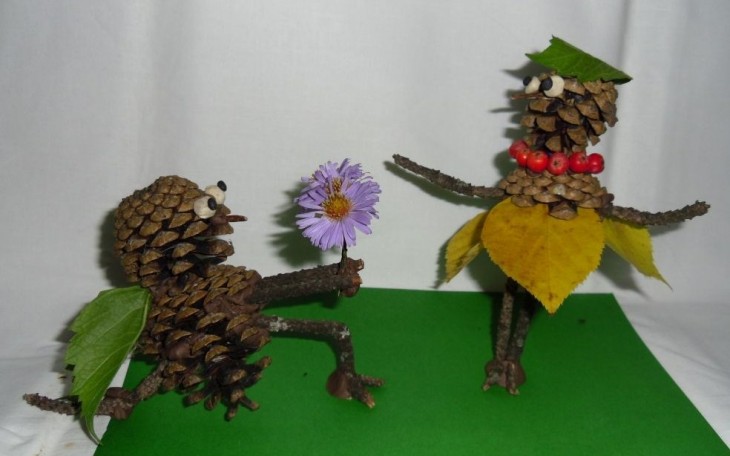
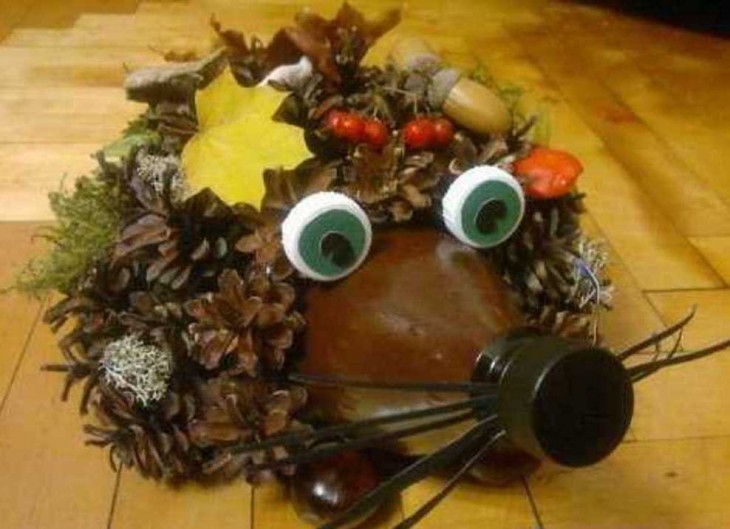
Baba Yaga from cones
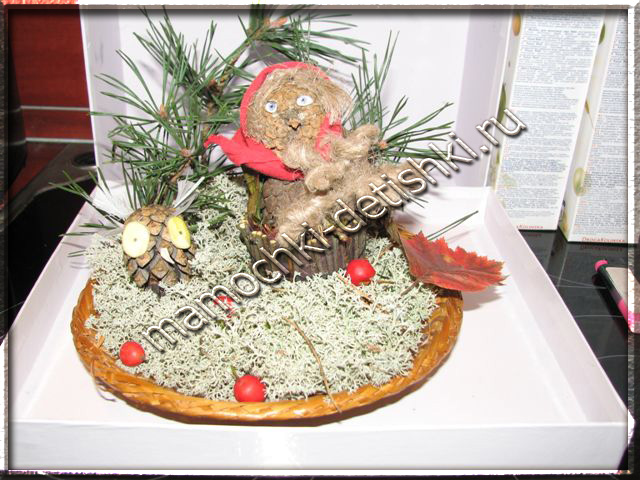 Surely at school you were asked to do. Let's try to make a fabulous Baba Yaga out of cones and twigs.
We will need:
Let's get to the craft:
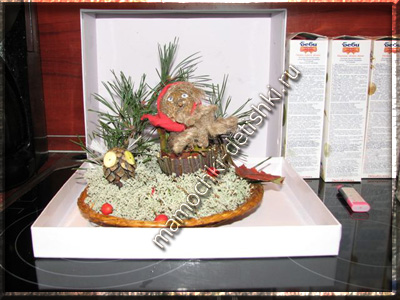
Ready.
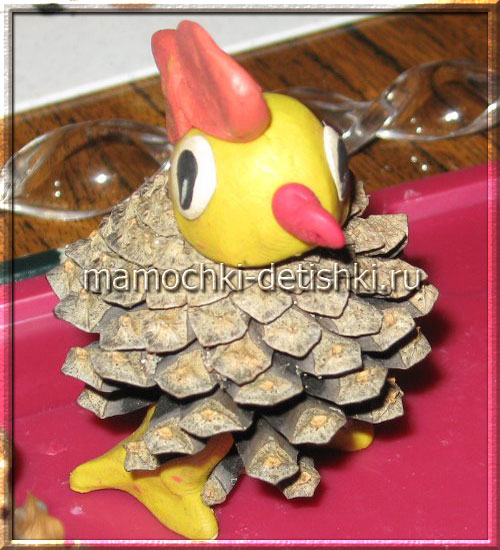
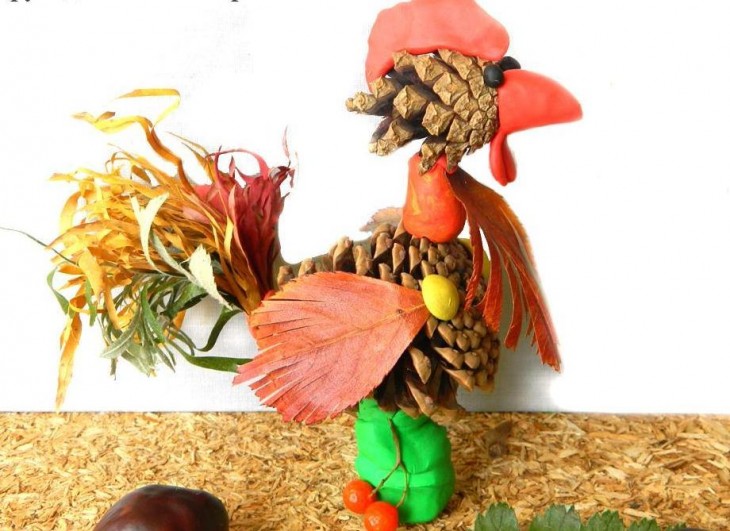
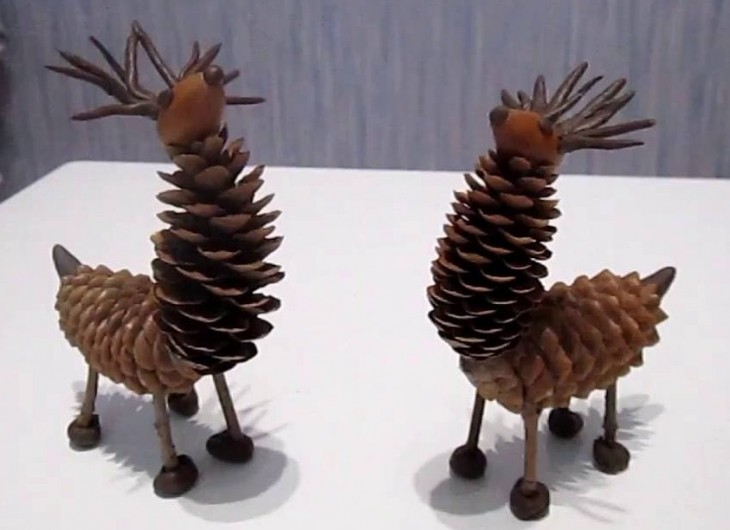
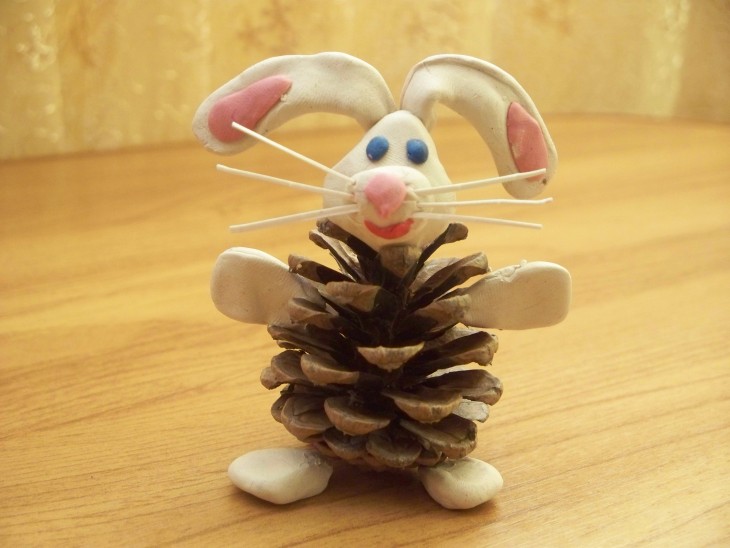
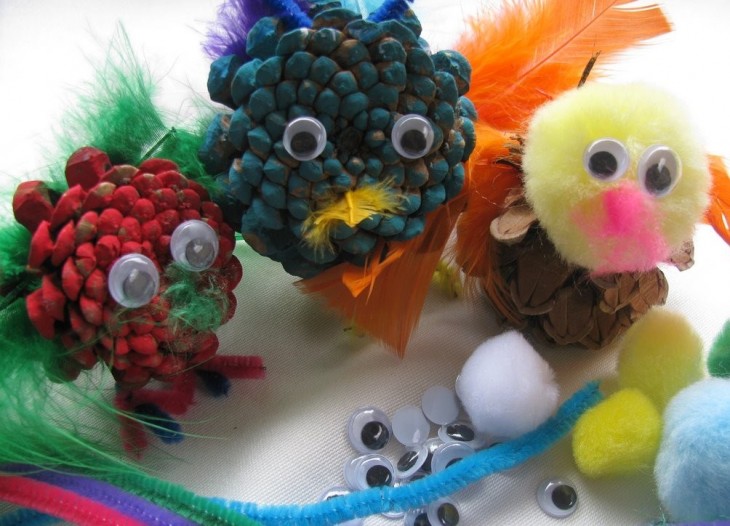
Cockerel from cones and plasticine
Even a baby will get such a funny chicken, of course, if his mother helps him a little in making crafts.
 For work we need:
Let's get started:
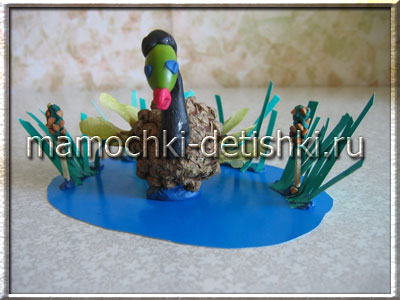
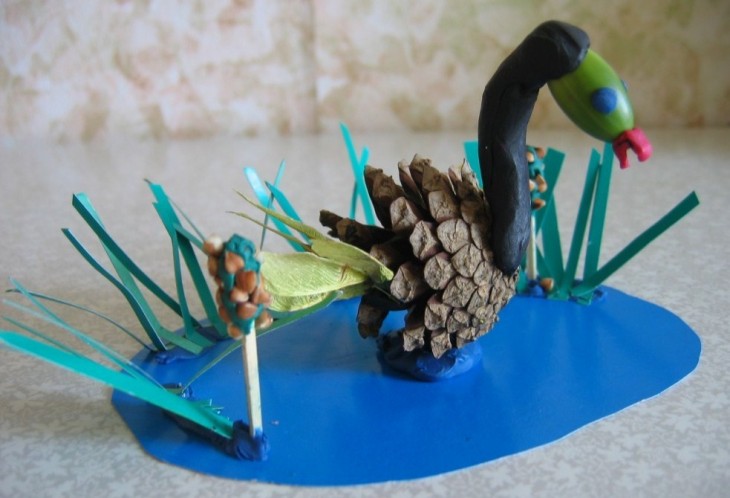
Craft from cones "Swan on the lake"
Such a wonderfully beautiful swan can be made using a cone and decorative material. Invite your child to make such a craft, for sure, he will like both the creative process itself and the resulting swan on the lake.
 For manufacturing you will need:
Let's start the process:
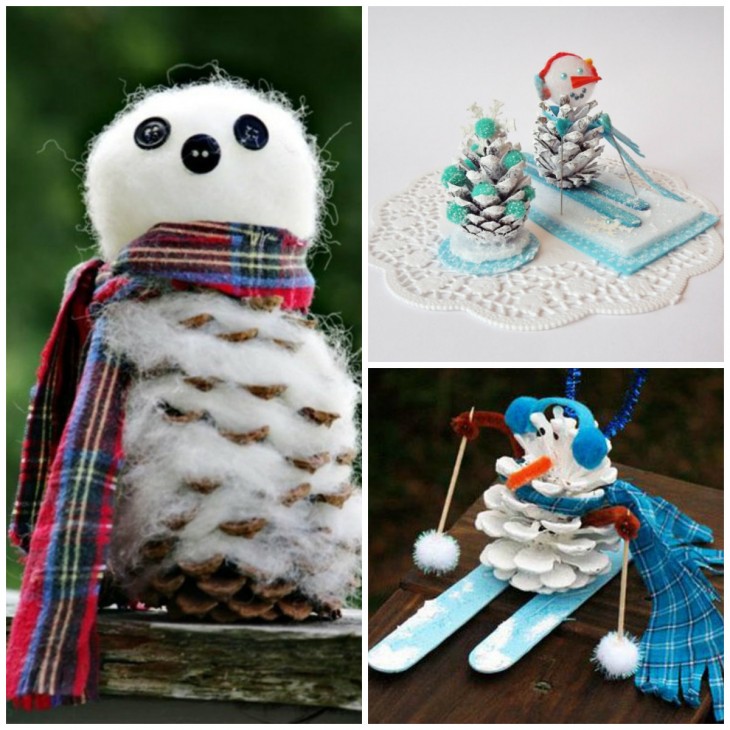
It all depends on your imagination and desire, I will offer you a few more photo of crafts from cones.
In all kindergartens and schools, every year they are asked to make products with my own hands. This is perhaps the most common puzzle for parents.
And you know, it's not even bad at all.
We have a lot of natural material, you need to add a little imagination.
And most importantly, you and your whole family will immerse yourself in the charming world of creativity.
Today, we will review natural resource- cones.
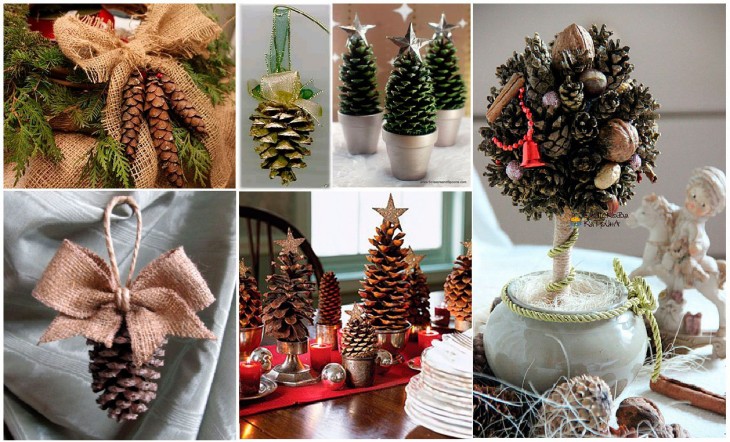
It is used not only in school crafts, but also for the interior, Hand-Made designers and others.
![]()
Below are photos and detailed diagram several crafts from cones.
Almost everyone can make crafts from real pine and spruce cones, the main desire and a little imagination.
Using this amazing natural resource, you can do:
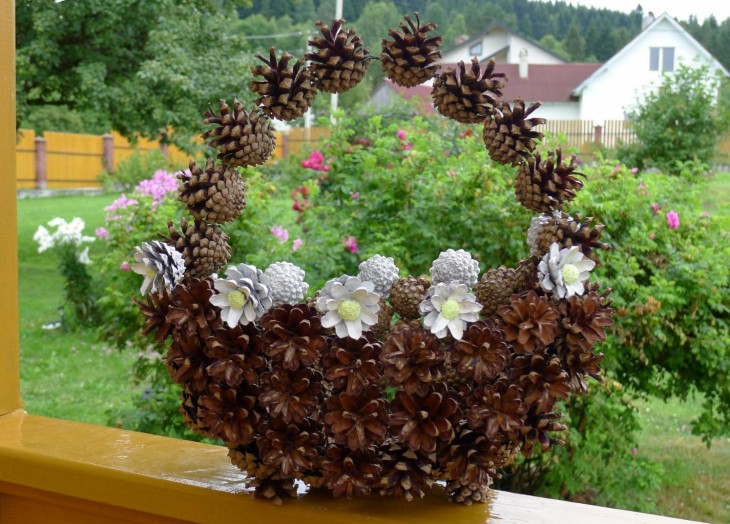
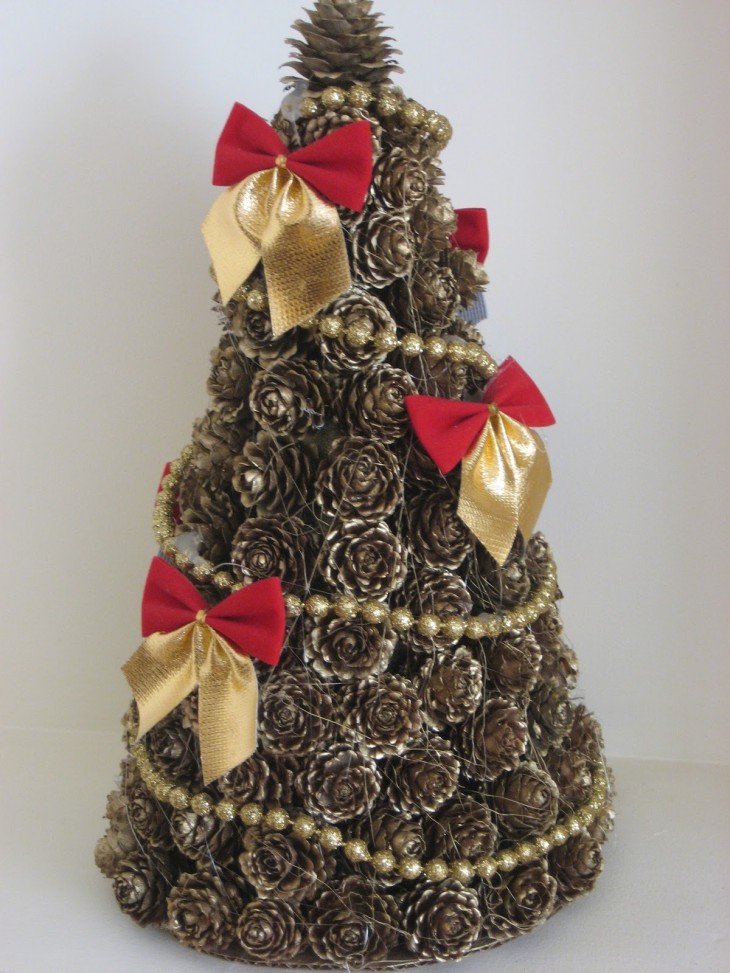
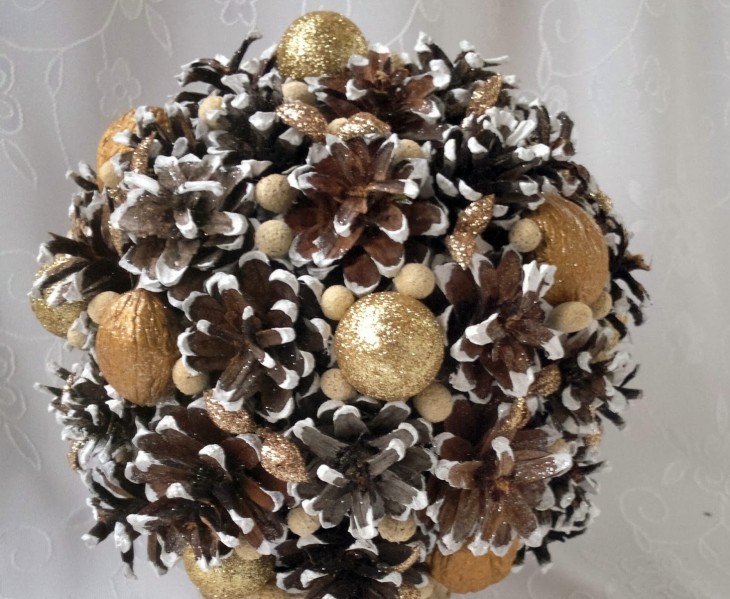
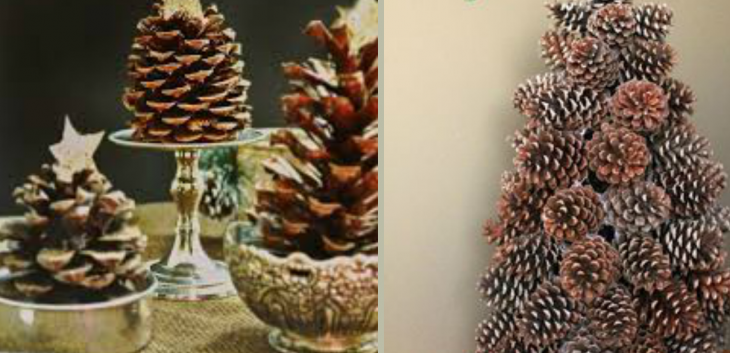
Hand over Christmas mood guests can right from the doorstep. For the design of the New Year's wreath we will use:
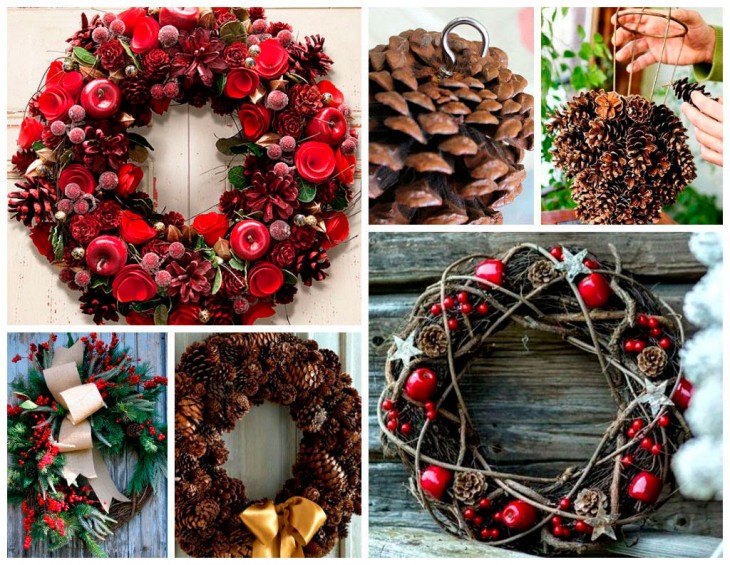
In the manufacture of the base, many materials are used.
For example: plastic, cardboard, branches, bending wire, and even newspapers.
We settled on cardboard, it is quite simple and convenient to work with.
On the cardboard we cut out the diameter of the circle that we need. Next, we fasten the branches and cones, forming a symmetrical circle.
After the cones are glued, we continue to decorate our wreath. We take a can of artificial snow and spray the edges of the cones.
If you could not find snow, then you can paint the scales with white or silver paint.
We tie with a satin ribbon, choose the color yourself.
For a more interesting and rich wreath, you can add additional elements decor: red beads, acorns, nuts, flowers.
![]()
Turn on your imagination and you will succeed!
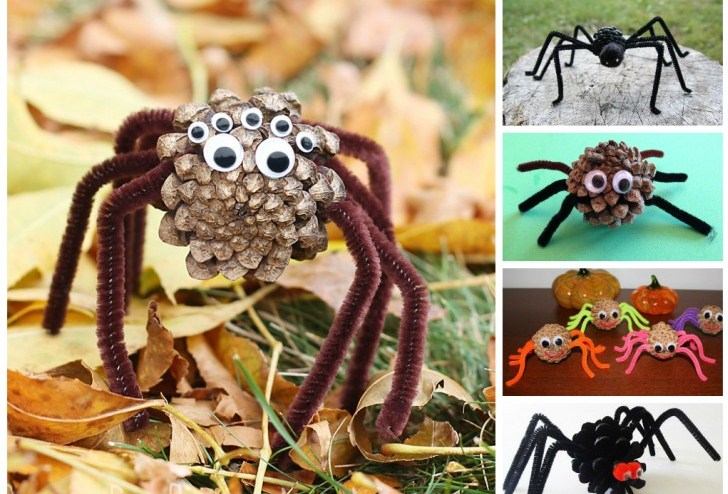
Quick and easy craft to make.
Material you need:
Step-by-step instructions for crafts:
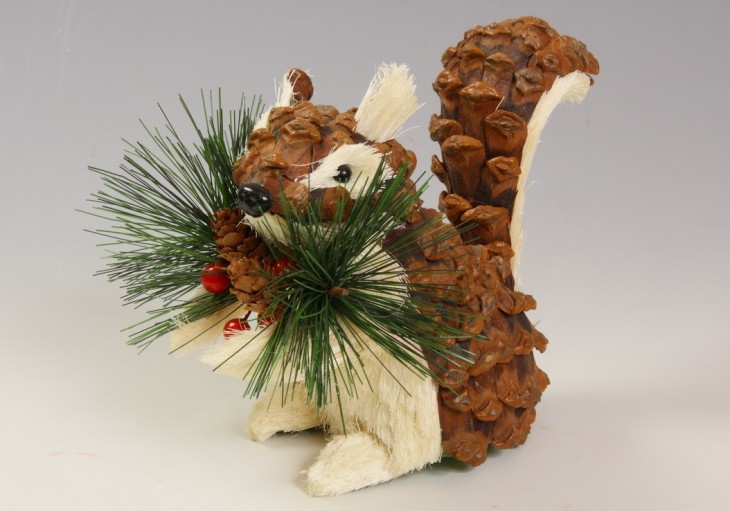
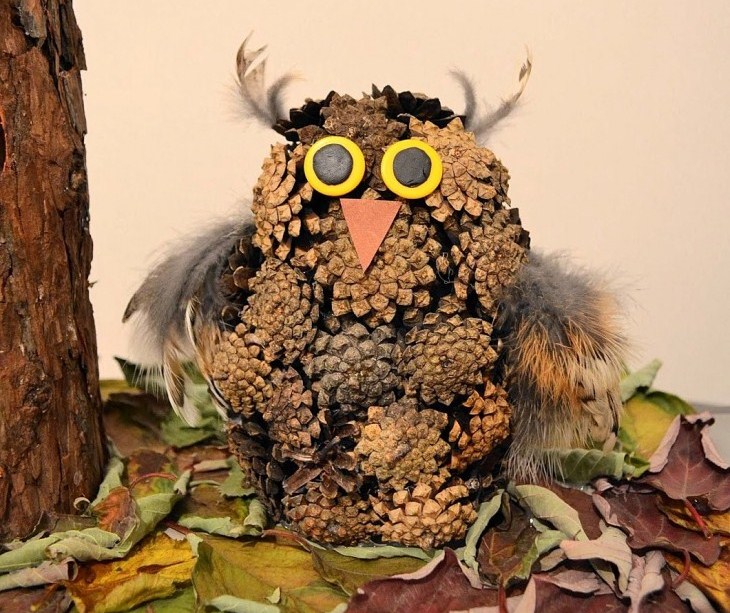
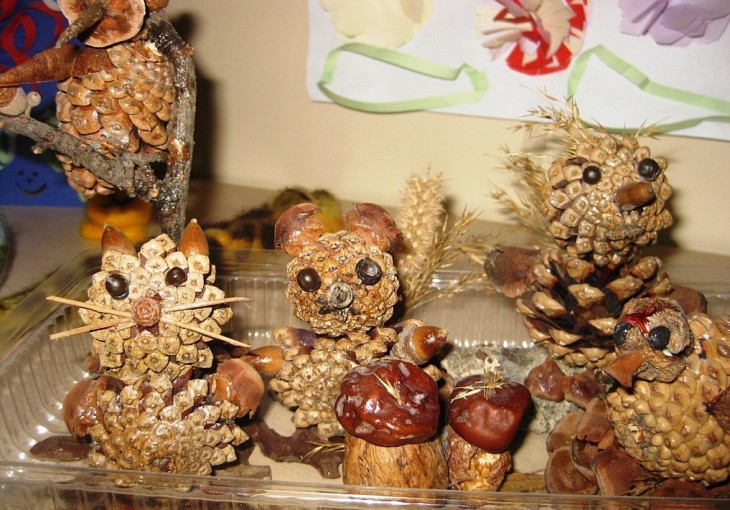
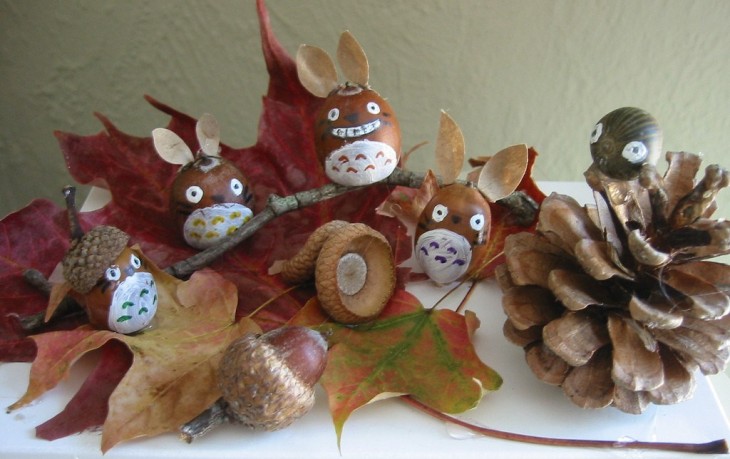
For kids and schoolchildren, it will be easy to make crafts from cones and plasticine of funny animals: Mishutka, Hedgehog, Squirrel, Owl, etc.
We will use:
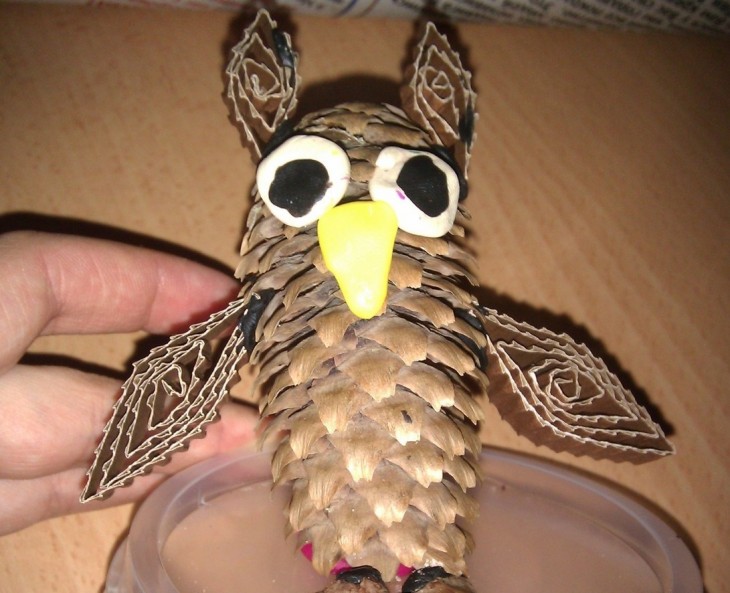
Step-by-step instructions for making crafts:
Body. From collected material, choose an elongated pine cone. On the connecting parts of the scales, apply glue. We connect the parts so that the scales fix each other.
Paws. We choose 2 larger cones for the lower legs, and 2 smaller ones for the upper ones. We glue the parts with the body, follow the symmetry.
Head. We make the head from open pine cones. They perfectly convey the fluffiness of the bear's fur. Attach with glue to the base.
Ears, eyes and nose. It can be made from plasticine, and the tip of the nose, for example, from black peppercorns.
If you want to surprise everyone around, then you can make a big bear. The size of the bear is up to you, the main thing is to dial right amount cones.
You can make a base - the Mishutka frame can be made from polyurethane foam, polystyrene or papier-mâché. Great solution, for the stability of the product, something heavy will be attached to the bottom.
We cover the frame with cones, and we make the ears and muzzle from plasticine or pompons.
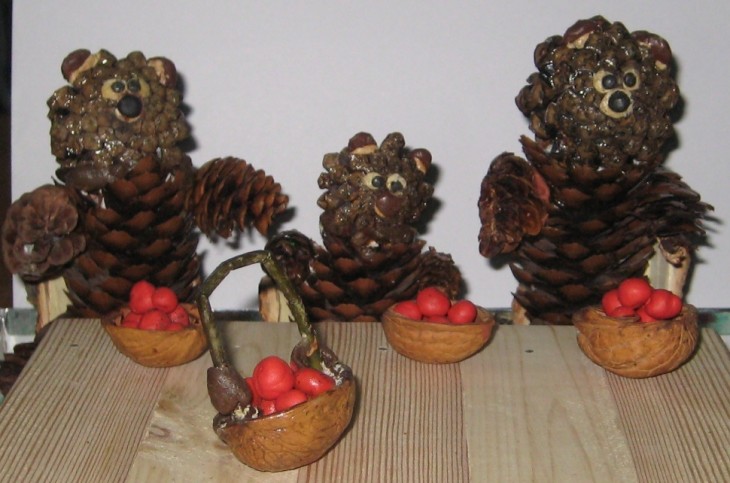
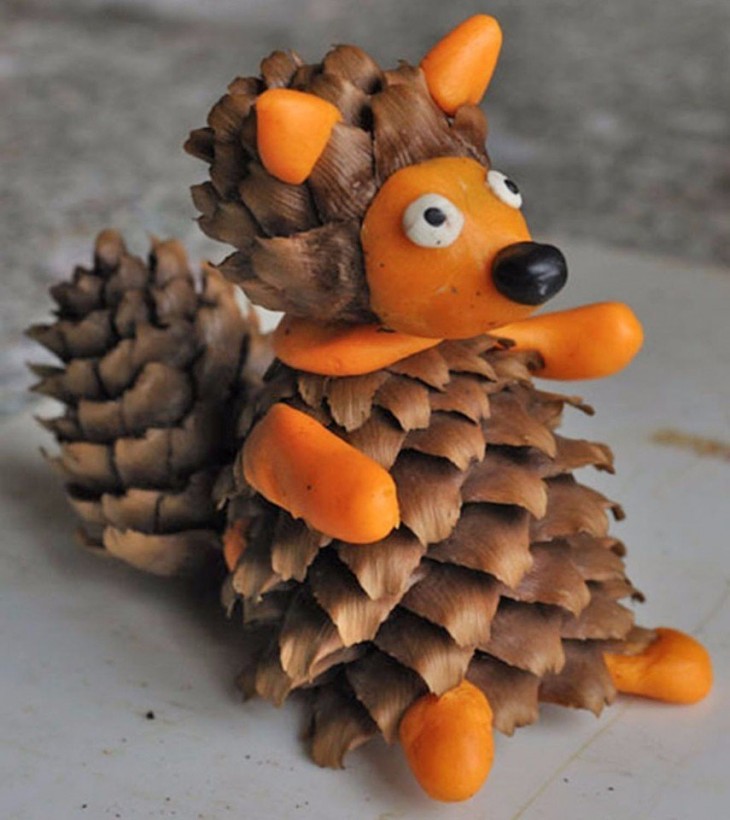
The easiest children's craft made of cones. For its manufacture, you need only two materials:
Step by step description:
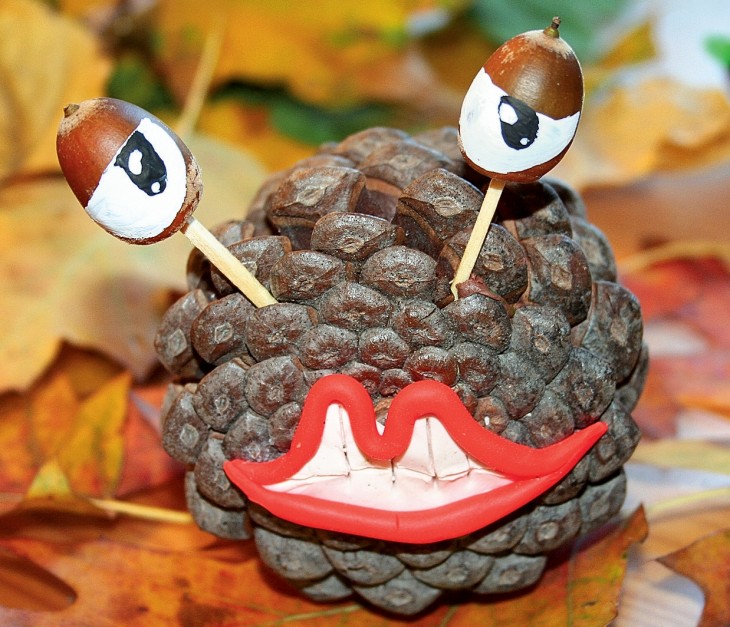
Body. The cone itself is well suited for the base of the craft. If you look closely and turn the scales correctly, they look like hedgehog needles.
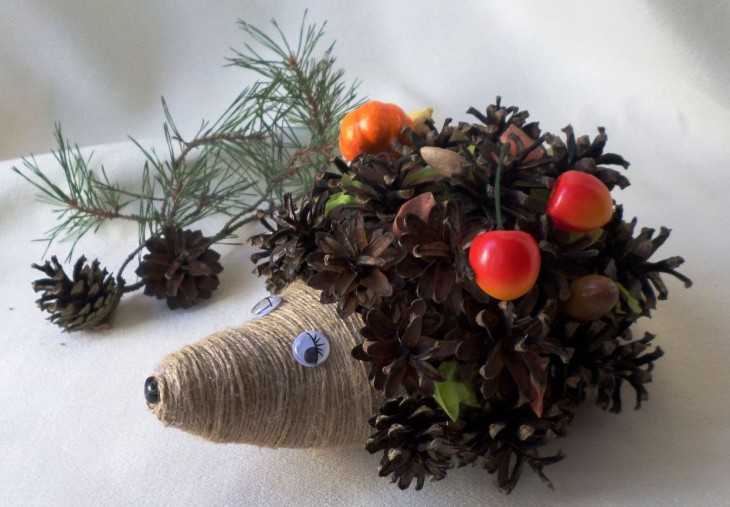
Muzzle. Here we need plasticine. From it we make an oblong muzzle. And fix on the craft.
Eyes, nose, paws, ears. We also use plasticine, only of a different color.
As you can see, there is nothing complicated, this cone craft is suitable for kindergarten.
Experiment! Decorate your home with interesting design solutions that I have prepared myself. Do not forget about the children, they will also be interested in taking part in the creation of a small miracle.

A pleasant walk through the coniferous forest can be combined with an exciting activity - collecting fallen cones from pines and firs. From cones different forms and sizes and plasticine, you can quickly make many fun and easy crafts for children. Plasticine will help shape the cones that will remind you of familiar animals and plants.
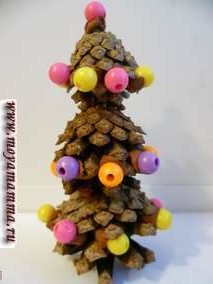
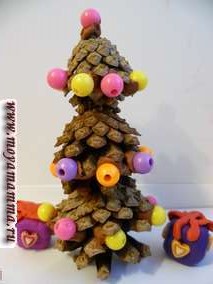
For example, you can make an elegant Christmas tree out of a fir cone. To strengthen the spruce cone, we make a plasticine stand. We decorate the Christmas tree with toys - beads. We attach the beads to the bump on plasticine. You can put a gift under the tree. A gift can be molded from plasticine and decorated with beads.
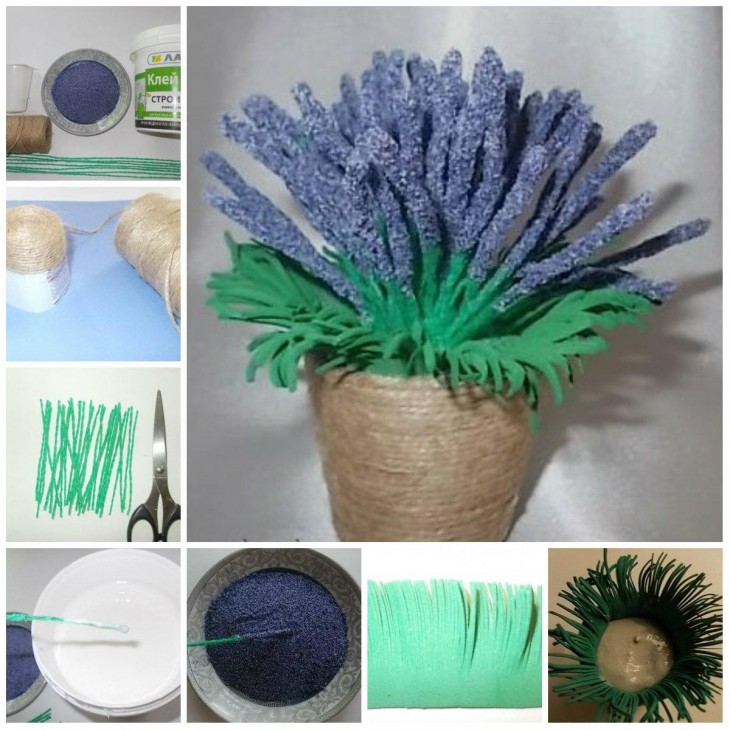
Cones and plasticine make cute crafts - cacti. For example, a small cactus turned out from a small open cone. A pot for it can be molded from plasticine.
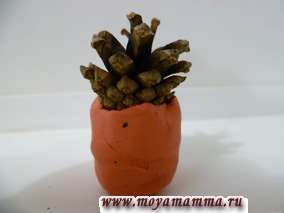
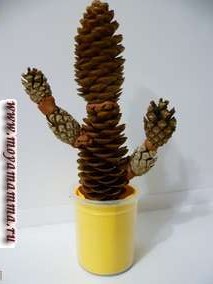 Craft from cones and plasticine "Cactus"
 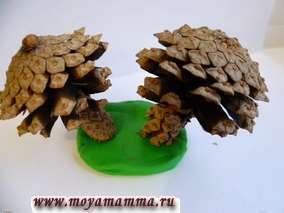 Crafts from cones and plasticine "Mushrooms"
 Cones of different shapes may give you the idea of creating a more complex craft, such as the camel in the photo below. However, this complicated, at first glance, craft is assembled in just half an hour. The Bactrian camel made of cones and plasticine in the photo is made from one large cone and nine small cones. At the same time, the camel's legs are made of two small narrow cones, interconnected with plasticine. The legs are attached to the body with the help of plasticine. There are two humps on the camel's back - from two small open cones. The neck of a camel with a slight bend forward is made of two small narrow bumps. As a camel's head - a small bump, eyes - from black plasticine. Optionally, you can make a brown plasticine tail for a camel.
 Craft from cones and plasticine "Camel"
 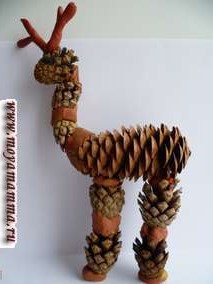 Craft from cones "Deer"
 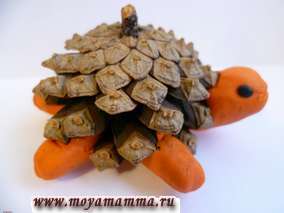 Craft from cones and plasticine "Turtle"
 Cones can be turned into fish. To do this, it is enough to attach a plasticine tail to the crown, and a fin on the side of the cone.
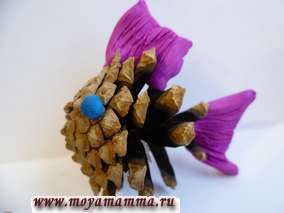 Craft from cones and plasticine "Fish"
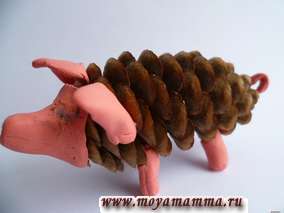
 Children's craft from cones and pink plasticine "Pig"
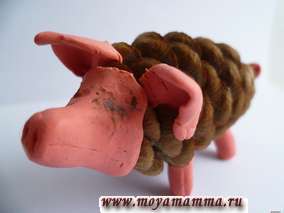
 Sheep with lamb - from large and small pine cones.

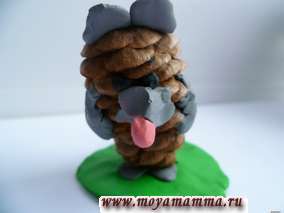
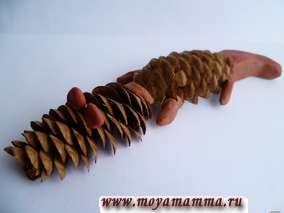 Crocodile from a fir cone and plasticine
 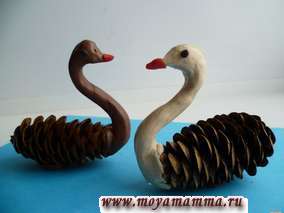 Swans from cones and plasticine
 From cones and plasticine, you can make beautiful voluminous applications. For example, the application in the photo below. On blue cardboard, a flower is attached with plasticine - from small cones. The middle of the flower, clouds, the sun and a clearing made of plasticine.
 Application of cones and plasticine
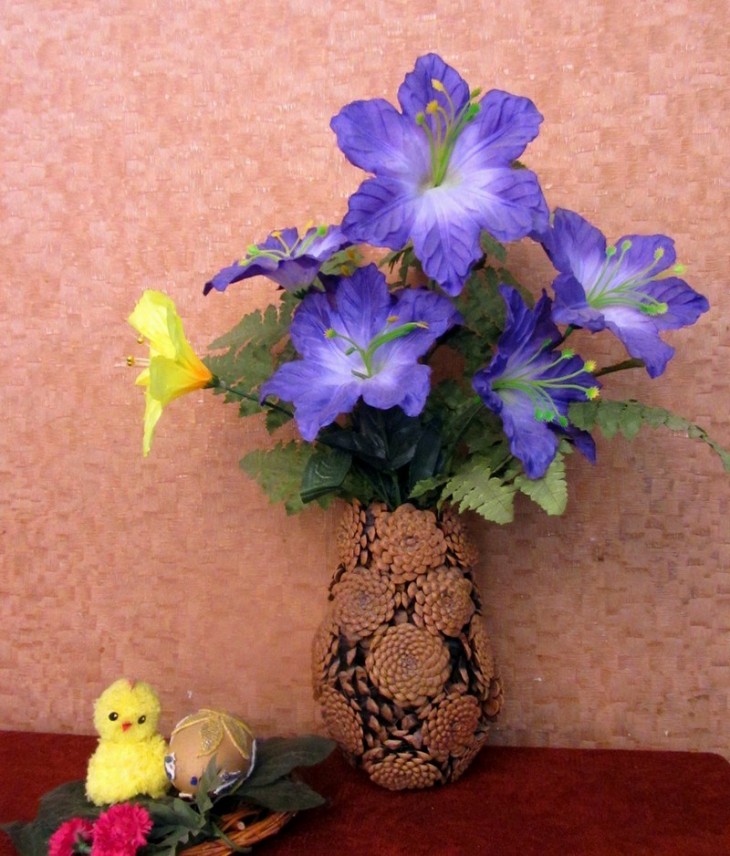
 Craft "Vase", decorated with a branch with flowers from cones. Draw a vase on a sheet of paper. We fasten a thin strip of plasticine to a vase. We attach small cones to it. As leaflets, we attach watermelon seeds to plasticine.

Proverbs and sayings about May HORIZONTALLY: 2. May will deceive - in ... will leave.4 ....

Popova V.N. primary school teacher MBOU "Kishertskaya secondary school" Rebus is ...

To learn how to compose and understand puzzles, you should figure out what they are from ...