Hmm, yoda_daro claims that this is a test to determine their sexuality...


Repair - in any case, a very troublesome event. And if it is assumed that a complete dismantling of wall and floor cladding will be completed, the estimated amount of work can scare even an experienced repairman, not to mention a home master. Indeed, in this case, just to get rid of old materials, it will take more than one day of intensive work.
Therefore, novice builders are trying to find out if it is possible to lay tiles on tiles and thereby save their time and effort. Let's try to figure it out together.
But, nevertheless, in some cases, it is still better to save the old floor or wall covering and make the basis for the new one. Why? Let's try to justify.
Dismantling the old tile, for sure, will lead to the destruction of the base on which it is fixed. So, when removing floor tiles, fragments of the screed will definitely break off, the plywood leveling flooring will also become unusable, and when working with a wall covering laid on drywall, the latter will most likely be damaged.
Thus, in addition to dismantling and laying new tiles, you will have to re-equip the base, which is very laborious, costly and takes a lot of time to harden the material.
With all diligence, the dismantling of the old cladding cannot be done cleanly. The dusting will be very strong, since you will have to work with a puncher. The amount of construction debris that will need to be removed is also large. In addition, the bathroom will have to be completely freed from furniture and sanitary equipment.
Experienced craftsmen note that neighboring rooms may suffer from dust. Appliances and furniture in them should definitely be covered with polyethylene, if possible, it is worth protecting the decoration of the room, otherwise it can be seriously damaged.
Dismantling old tiles is a very laborious undertaking. In the process of its implementation, the old base on which the cladding lies will be necessarily damaged and will have to be restored.
As it has already become clear, there are many additional problems during dismantling. To minimize them, it is worth trying to leave the old lining. However, this is not always possible to do. There are several cases when leaving a tile is strictly not recommended:
SNiPs state that the basis for a tile coating must be monolithic, rough and porous. All this does not correspond to the characteristics of ceramic cladding, which is composed of individual, small-sized elements, and, moreover, is highly smooth.
Thus, it seems that it is absolutely impossible to lay a new tile on an old one. This is not entirely true. Consider the monolithic coverage. Competently laid on good glue, high-quality tiles form a solid monolithic base, quite suitable for laying another layer of cladding.
With the porosity of the material, everything is somewhat more complicated. The most significant advantage of building ceramics lies in its high density, which is combined with a minimum number of moisture-absorbing pores. The fewer pores on the surface of the tile, the better it is.
In any case, the absorption coefficient of the lining is in the order of 0.5%. This is negligible for the glue to penetrate the tile, fix in it and hold the new ceramic element on itself. That is why, before starting work on the installation of a new tile, it is necessary to remove the glaze from the old one in order to open the pores of the ceramics and at the same time increase its roughness.
The problem can be solved in three different ways:
Experts note that the best result can be achieved when all three methods described above are used in combination. Therefore, it is strongly recommended to do just that.

The surface of ceramic tiles is very smooth and practically devoid of pores. It is impossible to glue the cladding to such a base, therefore it must be prepared in a special way
The procedure is carried out in several stages.
First of all, we need to understand how securely the old cladding holds. To do this, we take a special hammer with a copper tip, if it is not available, a small steel hammer will do, and gently tap the entire tiled floor with it. We perform the operation very carefully, without missing a single element.
We tap the center of the part and the corners. The cavities under the lining will make themselves felt with a ringing echo that will be heard from under the ceramics. It must be understood that the presence of such cavities indicates that a new coating laid on such a base will collapse.
Defective elements are immediately dismantled using a hammer and chisel. We fill the resulting cavities with cement mortar and wait for it to completely solidify. The curing time of the composition depends on the thickness of its layer. For example, a centimeter layer will completely harden in 7 days. We carefully clean the crumbling seams with a chisel and fill it with tile glue or cement mortar. We are also waiting for drying.

If, as a result of tapping the tile, it turned out that under it it does not hold well on the base, the defective cladding must be removed. We use a chisel and a hammer for this.
We start by cleaning the tiles. To do this, we take a grinder, put a grinding wheel with medium grit on it, and get to work. We carefully process the entire ceramic surface. We remove the glaze from the tile, after which we perform notches on the tiled base, which will improve the adhesion of the material.
Now we need to prepare the surface for priming. To do this, carefully wash it. First, with clean water, washing off the dust, then we use a soapy solution. It will help remove grease and dirt.
If there are old stains or poorly washed fat on the base, add soda to the water. Rinse the ceramic surface thoroughly, rinsing it several times with clean water. After the ceramics have dried, we proceed to priming. We try to apply the solution evenly, carefully distribute it with a brush or roller.
We strictly fulfill the requirements of the instructions, apply the amount of composition indicated in it. In order not to stain the structures associated with the floor, we close them with polyethylene before work. Waiting for the primer to dry. This will take 3 or 4 hours.

To prepare the old tile coating, special solutions are used, which include acicular quartz or ordinary sand. They are available in hermetically sealed containers.
Before laying the tiles, it is necessary to mark up and install the stops on which the first row of cladding will rest. It is best to draw a diagram on which all the design features of the room will be indicated. On it we perform an approximate layout of the elements. It is desirable that the seams of the upper parts lie on solid tiles. To do this, you need to shift the upper joints relative to the lower ones.
In the case of laying tiles on the wall in the lower part of the wall, we fix the stop for the first row of tiles. It can be a wooden rail or a plastic corner. We take a plumb line and draw a line perpendicular to the stop on the base. It is necessary to control the verticality of the laying. If it is planned to install tiles of different colors, you can mark the places for gluing parts of a different tone.
Installation of floor tiles starts from the far corner of the room. We draw the line of the first row and mark the location of the elements that differ from others in color or texture, which will form the pattern. We make sure that at the entrance to the room a whole part without trimming must be laid.
When making calculations, do not forget that it is necessary to take into account not only the size of the tile, but also the size of the gap between the elements.

Laying tiles on the wall is easier if you install a special stop under the first row, on which the first row of cladding will rest. Otherwise, the elements will slide down and it will be much more difficult to achieve even masonry.
The hardest part is laying out the first row. We start by applying the solution. To do this, we use a special notched trowel, the height of the teeth of which is equal to the thickness of the adhesive layer.
We lean the prepared tile against the support, then carefully turn it over and lay it on the mortar. It is not necessary to press hard on the part. It is better to slightly rotate the element around the axis with light movements. In this way, maximum adhesion can be achieved. When laying tiles, you need to remember that it will be quite difficult to tear it off the surface.
It will be possible only to slightly move the part to the side, so we choose the place for laying as accurately as possible. Be sure to check the correctness of the installation using the building level. If you need to deepen the tile a little, we do it with a rubber mallet.
We install plastic crosses in the corners of the part, which will help to maintain the exact dimensions of the gaps. Another important point: the gaps should remain as clean as possible. You can not press the parts too hard, so that the solution protrudes along the edges.

We put the tile on a layer of mortar applied to the base with a notched trowel. We lay the part in a light circular motion so that the adhesion with the glue is the best.
After gaining a little experience, you can try to apply the mortar under several tiles at a time. Then, with quick, but precise movements, we put the parts in place, slightly turning them at the same time. We distribute the crosses into the gaps, slightly press the lining with a level, while checking the correctness of its installation.
Having laid the first row, we take a break to wait for the glue to dry completely. This will make it easier to lay the rest of the tiles. An important point: all excess mortar in places intended for the installation of cut tiles must be removed immediately. Otherwise, they will dry out, and before continuing work, the hardened glue will have to be chipped off, which will necessarily affect the strength of the connection of the laid parts. We do the same before a break in work, remove the solution along the edge of the finished row.
The remaining sections of the base must be filled with tile fragments. They must be cut from one piece. We do this with a glass cutter or tile cutter. We mark the part, not forgetting the size of the gaps.
We form a smooth edge of the element using a special machine with a diamond wheel or tile cutters for this. We install the prepared fragment in the right place in the same way as the whole tile.

Before cutting, the tiles must be accurately marked, taking into account the dimensions of the cladding and the size of the gaps.
The final stage, which consists in filling the tile joints with a special solution. Before starting work, you should wait for the complete drying of the glue on which the lining was laid. After that, carefully remove all the crosses from the gaps between the tiles. Now we clean the seams and the surface of the parts from dust and debris. It is best to use a vacuum cleaner for this purpose.
If we use an epoxy or silicone mortar, we glue the edges of the tiles with masking tape, which will prevent the mixture from getting on the tile, since it is very difficult to remove it from there after drying.

At the end of the tile laying, the tile joints are filled with grout. A soft rubber spatula is used for work.
The grout can be based on epoxy, silicone or cement. They are almost identical in their characteristics, differ in the way they are prepared and used. Epoxy and silicone compounds are sold ready-to-use, packaged in a sealed container.
Cement mortar must be prepared independently, diluting the dry mixture with water. We take a rubber spatula and apply a small amount of the prepared composition to the seam. Slightly press it deep into the joint. Then we remove the excess composition. To do this, we set the spatula across the seam and draw along it with a little pressure. The seam at the same time deepens a little and levels out. Having filled in this way all the inter-tile joints, leave them to dry completely.
We remove the remains of grout and masking tape. We clean and wash the coating.
Thus, we can conclude that, despite the recommendations of SNiPs, it is quite possible to lay tiles on top of old tiles with high quality. However, doing this is not as easy as it might seem. It is very important to correctly assess the condition of the old coating and determine whether it can become the basis for laying new tiles. In addition, it is extremely important to competently conduct preparatory work. Only in this case, you can count on a good result.
Repair is a troublesome business that takes a lot of effort, time and money. That is why many who make it on their own try to simplify their task as much as possible and often glue fresh wallpapers on top of old ones that have lost their appearance, equip new floor coverings on top of previously laid ones. But, unfortunately, it is not always possible to update an apartment in this way and bring it into a divine form. Is it possible to use old tiles on the floor? A question that is relevant for those who plan to renew the floors in the bathroom or in the kitchen, but want to save time and money on dismantling the old coating.
Decorative beautiful ceramic tiles are a very popular material for arranging floors and walls in areas such as kitchens and bathrooms. It is durable, easy, does not lose its beautiful appearance for a long time. However, over time, the same surface, the appearance of which does not change, can seriously get bored. And if the design of the room is radically updated, then the old coating may simply not fit the new format. In these cases, there is nothing left but to lay a new tile.

And this is where the question often arises - a is it possible to update the coverage without removing the old one? After all, dismantling tiles is a difficult, troublesome job associated with the appearance of a large amount of debris. The main reasons why you want to keep the old coating, but close it with a new one, are the following:

As can be seen from everything written above, the question of preserving the old tile coating is really relevant.

There is no single answer to this question. In general, many masters speak out against this way to save money, however, no less number of people practice this particular method of updating the flooring - they, without removing the old tile, put a new one on it. But here it is important to soberly assess the possibilities of laying.

So, for example, if the old surface is in excellent condition, smooth and neat, then it is quite possible to lay new tiles on it, subject to simple rules for performing such work. However, if the floors are in a terrible state, part of the old tile is missing or has chips, and voids are clearly felt under the coating, then you won’t be able to get out of the water dry. In such cases, it is impossible to lay tiles on top of the old one.
On a note! It is possible that due to the voids that may be under the old coating, cracks may appear on the new one over time with some mechanical action. You can identify the presence of voids by tapping the tile with a rubber mallet.

If there are no voids, then the old tile may well act as an excellent solid and even base for laying a new layer. Also, thanks to such a “rough” floor, you can not bother with the implementation of waterproofing and other works - for sure, when laying the previous layer, all these works were completed. By the way, in certain cases (for example, if some communications pass under the tile, and it is impossible to determine their location), removing the old coating becomes an almost impossible task.

You can not put a new tile on the old one, if the latter does not adhere very well to the surface - the cement could simply crumble over time due to the constant use of the floor. And it is not recommended to use this method if there is no desire to reduce the height of the ceilings - sometimes raising the floor level even by a couple of centimeters can interfere with the normal closing of doors, etc.
Important! In the bathroom or bathroom, the floor level is usually lower than in other areas of the house or apartment. This is done so that in case of flooding, water does not get into other rooms. It is necessary to leave a threshold!

In general, we can say that laying tiles on the old surface may well be the place to be. But only if it is possible to put a new coating without the risk of damaging it.
Table. Absolute contraindications to such work.
| Factor | Cause |
|---|---|
| Loose tiles | The new tile will not adhere to the surface of the old one. |
| voids under tiles | A fresh layer will quickly collapse and become unusable, since the tile under it can fail and break under the influence of the weight of a person moving along it. |
| The previous tile was installed with bad adhesive | If you know that the previously laid tile was mounted with a bad adhesive, then you should not put another layer on it. It may well be that soon the old tile will begin to fall behind, which will entail a violation of the outer layer of the new tile. |
| uneven floor | If the old tiled flooring is known to be uneven, then the laying of the new tile cannot be carried out on top of the old one. The base must be perfectly level. |
| Old tiles covered with cracks | Dirt accumulates in such cracks, and the old tile itself can no longer be a reliable and dense base for a new one. |

If there are contraindications listed in the table above, the dismantling of the old coating is a mandatory measure. Otherwise, the new foundation will not last long.
Despite the fact that, in general, the absence of the need to remove the old tile will greatly facilitate the life of the masters, there are some pitfalls here. So, for example, in order for a new tile layer to lay down well and with high quality, it is important to carry out certain preparatory measures.

For starters, you should evaluate the condition of the previously laid coating. It must be of high quality, durable and reliable. Further, it is required to eliminate all existing irregularities as much as possible, if possible.
It is also important to remember such a factor as adhesion. Often ceramic tiles on the floor are glossy and smooth, which means that the adhesion of the adhesive to it will be poor. Such a surface will have to be matted, made rough, otherwise there can simply be no talk of high-quality work. Glue is simply not able to securely attach to a completely smooth surface. Thus, you need to prepare for the fact that you will have to create this same roughness by rubbing the surface with a grinder, forming notches and applying a primer.

On a note! The ideal option is to use three methods of creating roughness at once. Then the adhesion of the glue and the new tile to the old one will be maximum.
Notches on the tile can be made with an ordinary grinder. You need to place them about 1-2 cm apart. In general, to achieve the desired result, it is enough to cover with notches about 60% of the entire old surface. The work is dusty and must be done with a respirator.

It is also recommended to carry out degreasing, and also - thorough cleaning of the surface from all kinds of stains(eg paint stains), debris. Vacuuming is recommended after cleaning the surface. Degreasing is important, because over time, a fat layer invisible to the eye forms on any surface. And fat negatively affects the adhesive ability of adhesives. Degreasing is especially important in relation to the joints between tiles. If fat is removed from the surface of the old tile during the creation of roughness, then it will not just leave the seams.
Advice! To degrease floors, they can be rinsed with water and a small amount of caustic soda.

If there is crumbled grout between old tiles, it must be removed. Moreover, try to do it to the maximum possible depth. And when the old tile is prepared in this way, you can cover it with Betonokontakt to create a high-quality primer layer. Some craftsmen note that by covering the tile with such a composition, you can do without creating roughness, but it is better not to neglect this measure if you want to get an excellent result. The consumption of "Betonokontakt" is approximately 300 g / m 2.

- also a kind of task for the master, who decided to lay a new tile on top of the old one. Not every composition that you can buy in the first store you come across is suitable here. So, when choosing an adhesive, it is important to pay attention to recommendations for its use - it must be written down for which surfaces it is suitable.

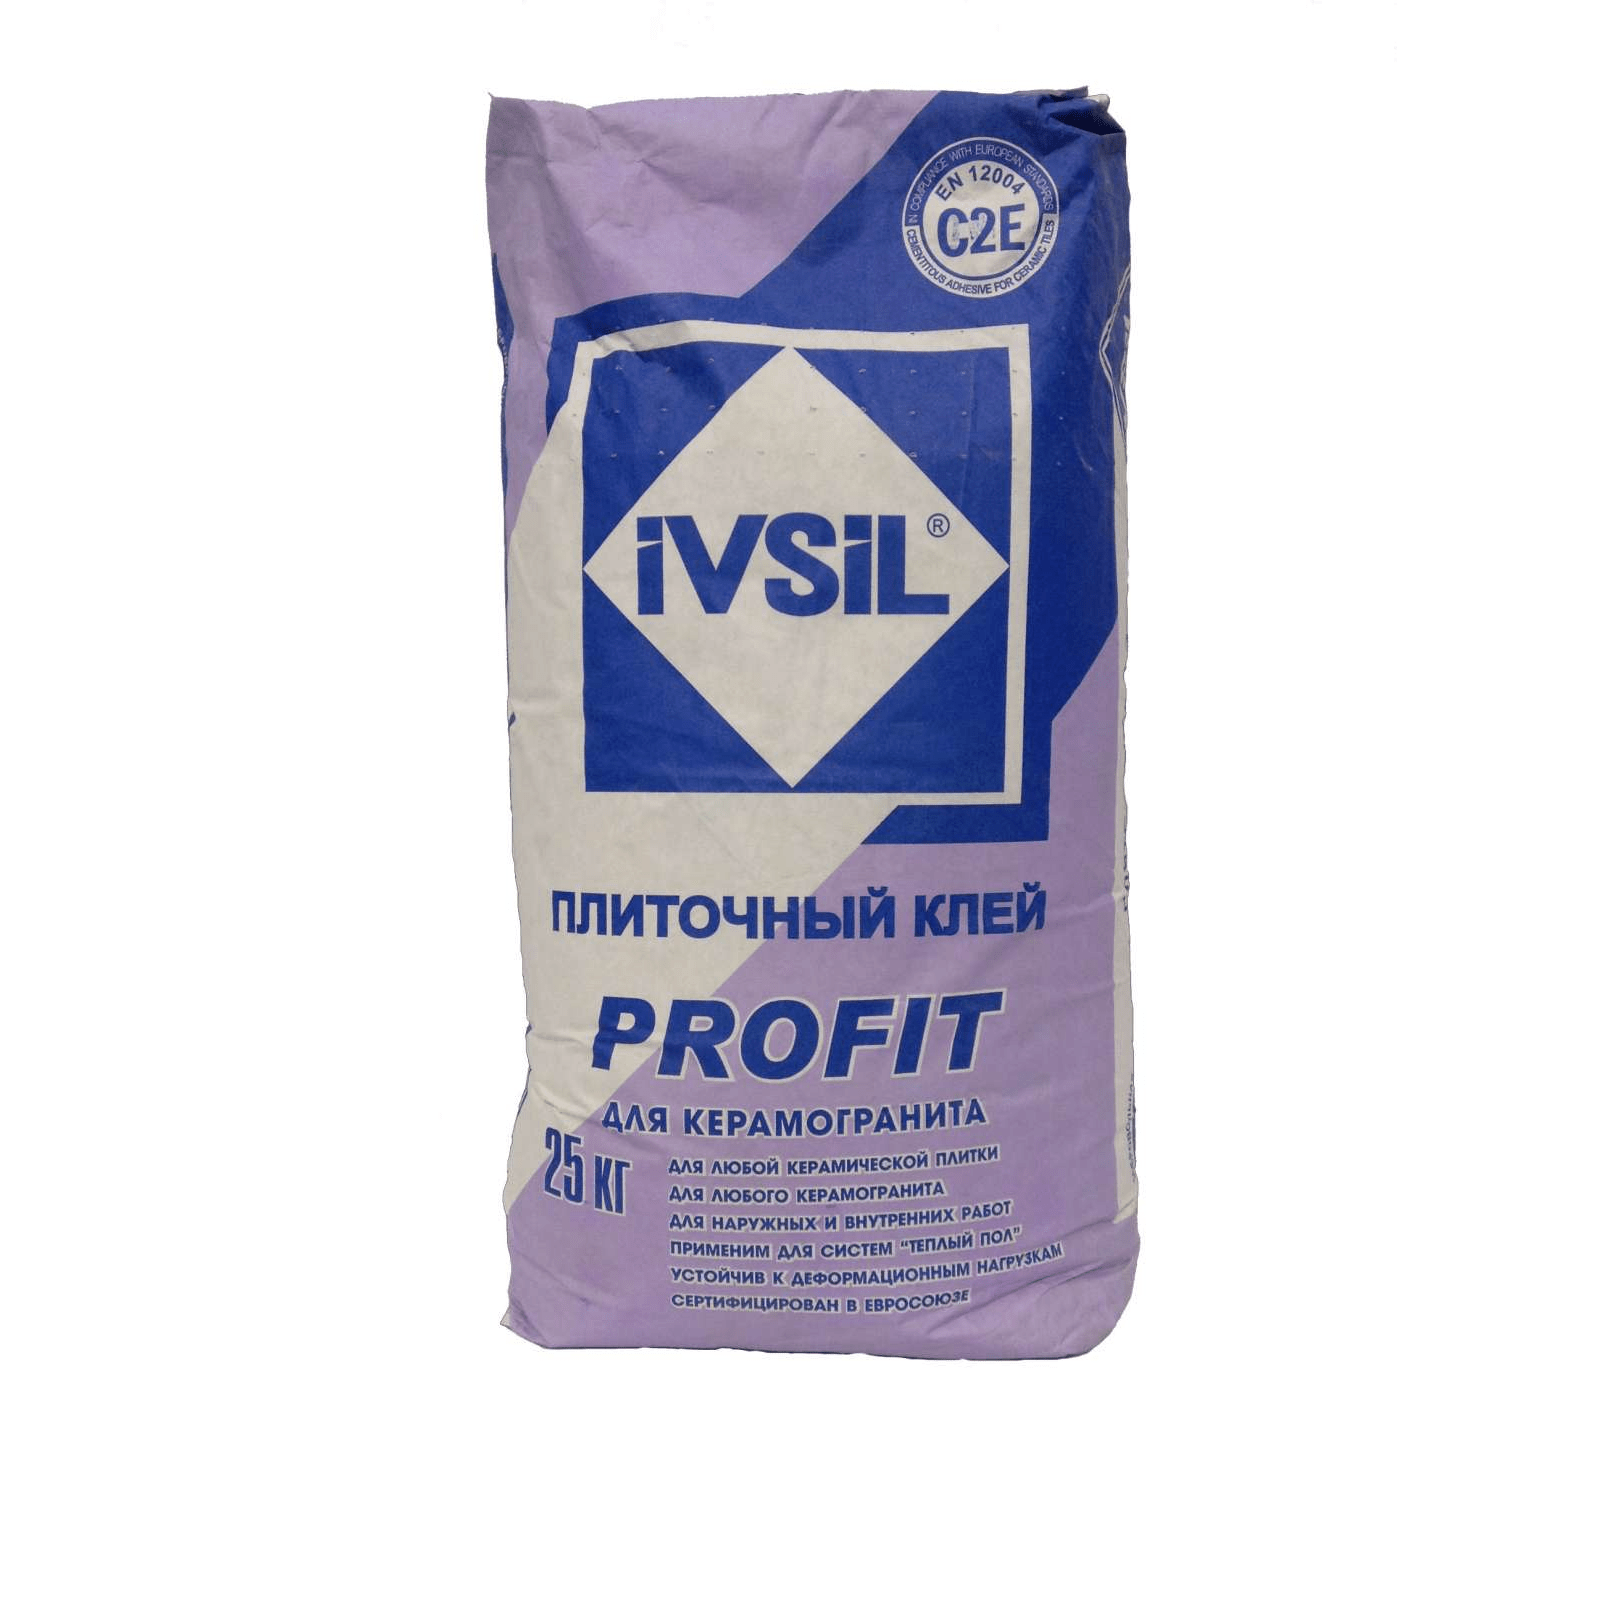
Experts recommend taking Ceresit CM17 or Ivsil Profit as the best adhesives for this type of work. Let it not be embarrassing that the second version of the adhesive composition was developed for - in this case it will only be at hand during the work. And Ceresit is great for working on difficult surfaces, which include old ceramic tiles.
For a person, the desire to save money is natural. And we are talking not only about money or consumables, but also about time, effort, energy. Such desires can result in the solution of global problems. And they can be much smaller and push a person to solve "narrow" questions. For example, can you lay tiles on tiles?
In this case, as in that popular expression: "If you really want to, then you can." In fact, the answer to the question: "Can I lay tiles on tiles?" - depends on many nuances and details. And all of them must be taken into account, because otherwise the savings can turn into excessive costs arising from the need to redo the work done.
First of all, when deciding whether it is possible to lay tiles on tiles, it is necessary to inspect every centimeter of the future base. To do this, first carry out a visual inspection: examine whether the previous coating is well preserved. If cracks appear, chips or other defects are present, this is already an argument in favor of removing the old coating. Although the number of defective tiles is taken into account here. Regardless of whether you are facing a dilemma: is it possible to lay tiles on tiles on the floor or not, or are you planning to do it on the walls, if the inferiority of the tiles is a mass phenomenon, then get ready to dismantle the old layer. If not, you can still get by with "little blood" and take out broken or suspicious pieces, covering the holes with mortar or tile glue.

But that's not all. Armed with a hammer, you should tap each tile, clearly listening to the sound it makes. If your ear caught a rattling, too sonorous sound, then there are problems of an "internal" nature under this place. It is there that there are defects in laying the tiles. Instead of cement, there is air, so such a tile is completely unreliable as an initial coating. If there are quite a lot of such areas, then the question of whether it is possible to lay tiles on tiles will disappear by itself.
Their main difference is in the direction of the planes where they are located, and, accordingly, in the loads. If there is a large mechanical effect on the floor from above, then gravity acts on the walls to a greater extent, pulling the tiles down. Because of this, for many craftsmen the question is: "Can I lay tiles on tiles on the wall?" - is quite controversial. Some unequivocally give a positive answer, others do not recommend doing this, others take doubts about how a large tile laid on a small one will behave and vice versa.

But most craftsmen are still sure that there is nothing wrong with the second layer of wall tiles. It is only necessary to withstand all the necessary technological requirements and use high-quality materials. The preparation of the primary, soil layer is of primary importance.

All doubts about whether it is possible to lay tiles on tiles on the floor or on the walls are already behind. It's time to get to work. And you need to start by preparing the old tile to turn it into a ground layer. Since the tile is covered with glaze, care should be taken to increase its adhesion. To begin with, armed with either a rag with a solution of caustic soda, or organic solvents (gasoline, acetone, and others), treat the old tile, removing dust, grease and other contaminants from it. The second method is faster, but more harmful to health. The right to choose - on what to save - is provided to you. When processing, it should be remembered that most of the dirt is collected in the seams between the tiles. Therefore, these places should be given special attention.
The main doubt when solving the question: "Is it possible to lay tiles on tiles in the bathroom?" - high humidity in the room. But again, modern technology helps to solve this problem. The main thing is to increase the adhesion force between the new and old layers. And for this, after careful cleaning procedures, you need to start processing the base.
There are two ways to do this:
The first one is rather unpretentious. We take a grinder with a diamond disc and comb the glaze from the old tile. Or, with another tool, we make notches, holes, grooves - well, how the hand lies. In short, we mock the old coating as we ourselves can, if only to damage the top layer. For we remember that glazed tiles have a water-repellent property, but we need, on the contrary, that the adhesive base is more firmly absorbed into it. Having finished the "act of vandalism", do not forget to turn on the vacuum cleaner and thoroughly (maybe even several times) vacuum the bathroom. For dust is also the enemy of adhesives.

If dusty work is not to your liking, take gloves, a roller and apply a special primer to the cleaned floor - traditional for this method "Betonokontakt" or "Ceresit CN94" or less well-known so far Ivsil Basis-Beton, "Plitonit-Grunt-Superkontakt" . It is a pleasure to work with Betonokontakt. Thanks to its color, you can always see whether the entire surface is well and evenly processed. Having finished the exercises with chemistry, we leave to rest for three hours, until the coating dries and begins to resemble sandpaper. By the way, before treating the base with reagents, carefully close the pipes and other places where the primer is not supposed to be used. Otherwise, you risk getting an indelible stain on the reputation of your bathroom.
Puzzled by the question: "Is it possible to lay tiles on tiles in the bathroom on the wall?", Many proceed from the alleged savings in materials and, accordingly, money. But you should not save money by buying cheap adhesives for these works. After all, they must "work" in rather specific conditions. Strong fixation materials that can withstand increased stress in an uncomfortable environment are more expensive than classic options. But it’s better to immediately “plant” the tiles on them than to repeat this action several times later.
Good fame, due to the high level of adhesion, has earned Ceresit CM-17 tile adhesive. It works great on smooth surfaces. And one more bonus from its use - tiles on the wall can be laid from top to bottom.

Experts say that when using the Vetonit Renovation adhesive mixture, you can not worry about roughening the bottom layer on which the new tile is laid. Although this is exactly the case when reinsurance does not hurt, especially for non-professionals.
The Ivsil Profit adhesive is commonly used for laying porcelain stoneware. And since it is designed to withstand this heavy material, it will do just fine with the second layer of tile. In addition, the price for it is lower than that of the adhesive materials mentioned above.
It doesn’t matter which of the questions you are facing: “Can I lay tiles on tiles in the bathroom?”, “On the floor?”, “On the walls?”, The main thing is that you do not need to forget about the small nuances of the work. Well, firstly, you should choose the location of the new tile so that its rows do not repeat the old ones, so that the seams between the tiles differ from those on the first layer. This will give the structure additional strength.

Secondly, there is no need to strive to lay the tiles on a thick, thick layer of glue. This can lead to an increase in drying time, shrinkage of tiles and other troubles. Well, we should not forget about the final grouting.
The main disadvantage when laying the second layer of tiles is the reduction in the volume of the room. By the way, one of the reasons for not doing this in the bathroom is to raise the level of the floor after installation. In principle, laying a new tile on an old one, subject to technological standards and using appropriate materials, is possible indefinitely. But, when thinking about whether it is possible to lay tiles on tiles in three layers, do not forget to measure how many centimeters your bathroom or kitchen will decrease.
Decorative ceramic tiles are perhaps the most popular finishing material for decorating floors in the bathroom, hallway, hallway and kitchen.
This is due to its practicality, hygiene and enviable durability.
Laying tiles is not an easy job, and requires certain knowledge and skill, and in order for everything to turn out as neatly and aesthetically as possible, you need at least a little experience.
It often happens that the owner of the apartment would like to replace the old floor tiles with a new one, but he is simply afraid to take on this task. Dust and debris, laborious dismantling work - all this stops. In this case, the question arises about the possibility of laying tiles on an old one that has long been laid.
The answer is unequivocal - the technology of laying new modern tiles on old tiles exists and is actively used during repairs.
But before deciding to implement this idea, you need to carefully consider the advantages and disadvantages of this method, calculate the real possibilities in application to the specific conditions of your own apartment.
If the old tile coating was once laid out in good faith, then it in itself is a good solid foundation for the new one.
There will be no need for very laborious, costly, dirty and noisy work to dismantle the old pavement.
In addition, the removal of old tiles will necessarily entail large-scale work to repair the base, install new waterproofing, level the level with a cement screed, etc.
In a number of cases, laying tiles on an old tiled base is also most appropriate from the point of view of the impossibility of removing it due to passing water or sewer communications, and capitally installed plumbing equipment.

However, it should be remembered that such a technology is still not always applicable:
If the old coating is severely loosened, the cement-adhesive mixture under it crumbles, then it will be necessary to carry out a complete dismantling.
Laying new tile on tile on the floor over a fragile base is simply doomed to failure - such a floor will not last long.
In multi-storey buildings of an old building, the level of the floor tiled with metlakh tiles in the bathroom or in the bathroom can be quite different from the horizontal.
Thus, in order to give the room neatness and geometric correctness, it is necessary to add a screed, and for this it is necessary to dismantle the old tile.
Another "pitfall". The second layer of tiles will inevitably lead to an increase in the level of the floor.
But in the bathroom or in the toilet, it must be lower than in the corridor, and additionally protected by a 1.5-2 cm threshold - to avoid the possibility of accidental flooding of residential premises.
Careful measurements should be made before undertaking such work.
 If, nevertheless, a decision is made to lay decorative tiles on the old tiled floor, then the most important condition for the success of the work will be careful preparation of the base.
First of all, you need to literally crawl around the entire old floor on your knees and inspect each tile.
If any of them “play”, have significant cracks, creak when pressed, they must be removed.
Just visually assessing the condition of the old coating will not work - you need to tap the entire tile with a hammer.
If a ringing sound is heard, this indicates the peeling of the lining, which means that it will not serve as a reliable basis. You will also have to remove these fragments, clean the freed surface, raise and level to a general level with a sand-cement mortar.
It is clear that this is done only if these are single tiles. When such a deficiency takes on a massive character, there is no doubt - you need to remove all the old tiles completely.
The main enemies when laying a new tile coating on an old one are a glazed surface, which significantly reduces the adhesive characteristics of adhesive mixtures, and banal old dirt, which also prevents the tile from adhering to the base.
To increase the strength of the coating to be laid, it is advised to make notches on an old tile with a glossy slippery coating, drill holes, and even better, carefully process it with a “grinder” diamond disc, up to the ceramic base. After that, the surface must be thoroughly vacuumed.
Particular attention is to cleaning the old coating from dirt. During the time that it was on the floor, an almost invisible greasy coating necessarily formed on it, which can not affect the adhesive composition in the best way.
Degreasing is carried out in different ways - someone uses organic solvents, gasoline, acetone. Those who do not want to breathe chemicals can be advised to thoroughly rinse the floor several times with warm water with the addition of caustic soda.
We should not forget about the condition of the tile joints. This is a traditional place of accumulation of dirt and grease, and their cleaning should be carried out without fail.
If the old grout has begun to crumble, it should be removed to the maximum possible depth, and after washing, cover with tile adhesive or cement mortar to the level of the coating.
 There is an opinion that if the old tiled coating is primed with Betonokontakt, you can do without first roughening it.
However, the ideal option would still be to carry out both - this will serve as a guarantee of success.
As primers applicable in this case, in addition to "Benonokontakt", they call "Ivsil Basis-Beton", "Plitonit-Grunt-Superkontakt", "Cerezit CN94".
All further work can be continued only after the complete drying of the primer layer. You should get a grainy surface, similar in texture to sandpaper.
Some craftsmen, in addition, practice applying a thin layer of tile adhesive - about 2 mm, and after it hardens, they start laying tiles.
Laying tiles on top of an old tile coating in its technology differs little from the usual one, although there are still some nuances:
But is any glue applicable for such work?
Is it worth it to listen to those who claim that after processing by Betonokontakt, the brand of glue is of no fundamental importance?
Probably, it is still worth considering the issue of choosing glue very responsibly, especially since we will mainly talk about laying tiles in a room with high humidity.
What do the experts advise??
 Ivsil Profit glue has good characteristics that will allow you to arrange a reliable and durable coating.
True, it was designed more for porcelain stoneware, but in the case of laying on top of old tiles, it is an excellent option.
High adhesion, even to a smooth bottom tile layer, has "Ceresit CM17". Its purpose is precisely complex surfaces, and the new coating will turn out to be reliable and durable.
A lot of good reviews deserved the adhesive composition "Vetonit Renovation". About him, even some finishers claim that it may not be necessary to roughen the old tile - such plasticity and adhesion in the adhesive composition.
Of course, such adhesive mixtures, designed for particularly durable coatings and complex surfaces, are more expensive than conventional ones. However, savings in this matter can be disastrous, and it is better to play it safe by purchasing really reliable material.
So, putting a new tile on an old ceramic coating is a perfectly acceptable option, if you strictly follow all these rules.
Sometimes the choice of this technology is the only right decision, both in terms of economy and the timing of repairs. And if you are faced with the question of whether such a floor finish is permissible, feel free to get down to business - everything should work out.
Sometimes old tiles are firmly glued to the floor or walls, so that their dismantling is very difficult. Is it worth gluing tiles on tiles, when is it possible to do so, and when not? The article contains all the necessary information on this issue.
This method of installing tiles is not a popular solution, and opinions differ about this method. There are several reasons why installing a new tile on an old one is preferable:
Is it worth installing a tile based on these reasons? Do not hurry. Other factors must also be taken into account.

With some convenience of such installation, negative consequences are inevitable. What to expect from tile-to-tile fixing:
There are unequivocal contraindications for attaching a new tile to an old one. These include the following cases:

Advice! If you are concerned about at least one point that warns against installing an old tile on a new one, then it is better to abandon this idea. Indeed, in case of failure, you will have to remove two layers of tiles and spend money on the third option.
The preparation of the base in the form of an old tile is carried out in a special way. The quality of the cladding directly depends on the choice of adhesive composition. Ordinary cement mixtures are also suitable for the floor. For walls, dense and elastic compositions are selected.
Quick-drying mixes are a good choice, as they will prevent the coating from slipping. The adhesive must have high adhesion and provide a strong base. On sale there are special adhesive compositions for installing tiles on difficult surfaces, for example, Ceresit, Ivsil Profit.
Important! If you put a tile on a too thick layer of glue, the polymerization will take much longer, respectively, the risk of delamination of the masonry and slipping of the top coating will increase.

How to stick ceramic tiles so that the cladding lasts for many years? First you need to do the preparatory steps:
The adhesive adheres well to the porous surface, penetrating into its structure. The tile, especially glossy, has a minimal ability to absorb moisture, that is, it has few pores. To facilitate adhesion, you need to clean the surface: use a grinder to make notches on the tile or remove the glossy layer completely. The bottom of the tile is water-absorbing. It needs to be at least 60% open. But this method is time consuming and dirty.

There is another way to make the surface rough: concrete-contact primer. It adheres well to the top layer of tiles and serves as a reliable base for tile adhesive.
Can you glue tiles on tiles? In conclusion, it is worth noting that this method of installation is sometimes preferable. But you should carefully inspect the old tile for defects, as well as carry out all the preparatory and basic work strictly according to the instructions.

Instruction The frames of the film merge for us into continuous movement due to ...

Pranayama is a breathing practice in yoga. Pranayama literally translates as...